By Mark Robins
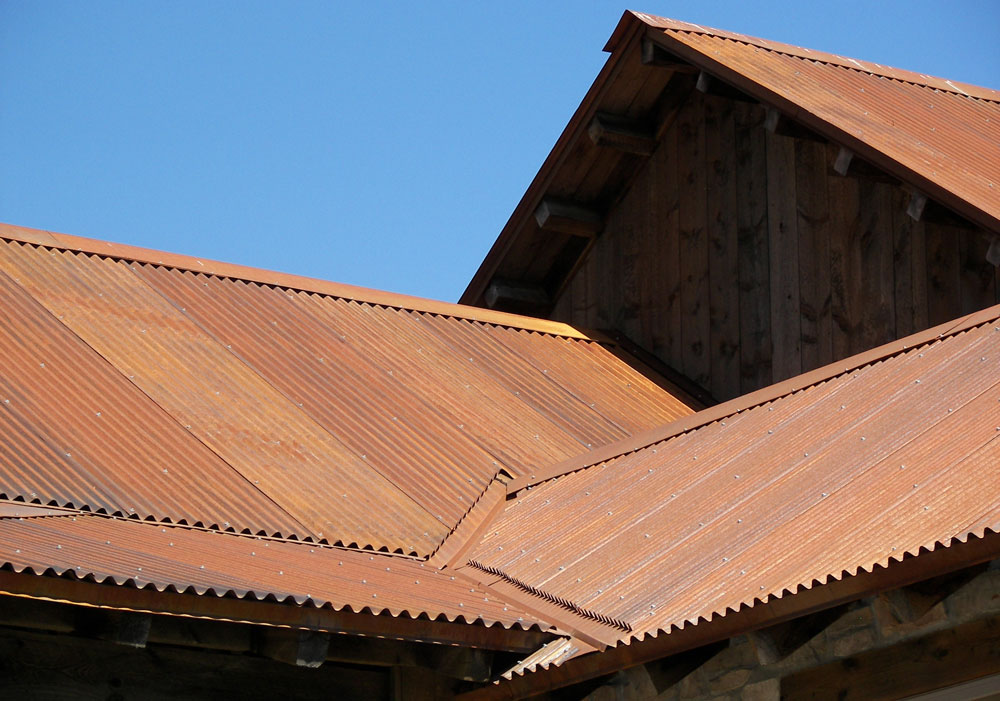
Exposed fastener metal panel systems have an overlapping joint design with a corrugated rib or wave pattern. A fastener (screw) is pierced through both panels attaching into the roof deck or substructure below. To prevent holes causing leaks they must be installed correctly.
Laying Out the Roof
Laying out the roof should always be step one. “Consider the building and panel width and develop a plan to handle off-module situations,” says Kathi Miller, director of marketing and sales training, McElroy Metal, Bossier City, Louisiana. “For example: If your building is 10-feet wide and you’re using a 3-foot panel, you’ll need three full panels and 1 foot from a fourth panel. Before installation begins, you’ll want to know how you plan to address the issue. For example, you might want to cut some material from the first and last panels instead of removing it all from the last panel so the building looks more symmetrical.”
Make sure there are no nails or other objects protruding from the substrates that might puncture the underlayment or the roof panels. Clean all debris from the roof. Check all conditions for possible roof penetrations that must be added to the deck prior to roof panel installation.
“Place an alignment line along the gable end where the first roof panel will be installed,” says Jeff Haddock, technical services manager, AEP Span and ASC Building Products, West Sacramento, California. “This line must be parallel to the gable edge of the roof deck and square with the eave line. Check the roof for squareness by making a 3-foot line across the eave. Completing the 3-foot x 4-foot x 5-foot triangle should place the 4-foot edge of the triangle parallel with the gable. The first roof panel will be placed parallel with this line. Slight variations or out-of-square conditions up to 3 inches can be covered by the gable trims. It is very important to measure the entire length of the roof from gable to gable. Correct placement of the panels will allow the panels’ ribs on each side to be covered by the gable flashing. This creates a symmetrical appearance on both gables.”
Peter Graves PE, engineer, StruktureOne Group, Austin, Texas, explains that all the primary and secondary framing and all framed openings should be erected, plumb and square in all directions, with all bolts tightened before sheeting is started. “Ensure the panels are perpendicular to the eave. Using a 3-4-5 triangle or string lines will ensure the panels are perpendicular to the longitudinal direction. [Without it] a sawtooth effect will become noticeable, and the roof edge will creep up or extend out and not remain parallel to the eave. If the panels are symmetrical, sheeting direction can be erected in either direction. If there is a prevailing ‘view’ or wind direction, the panels should be installed so the overlap line is less visible.”
Installation
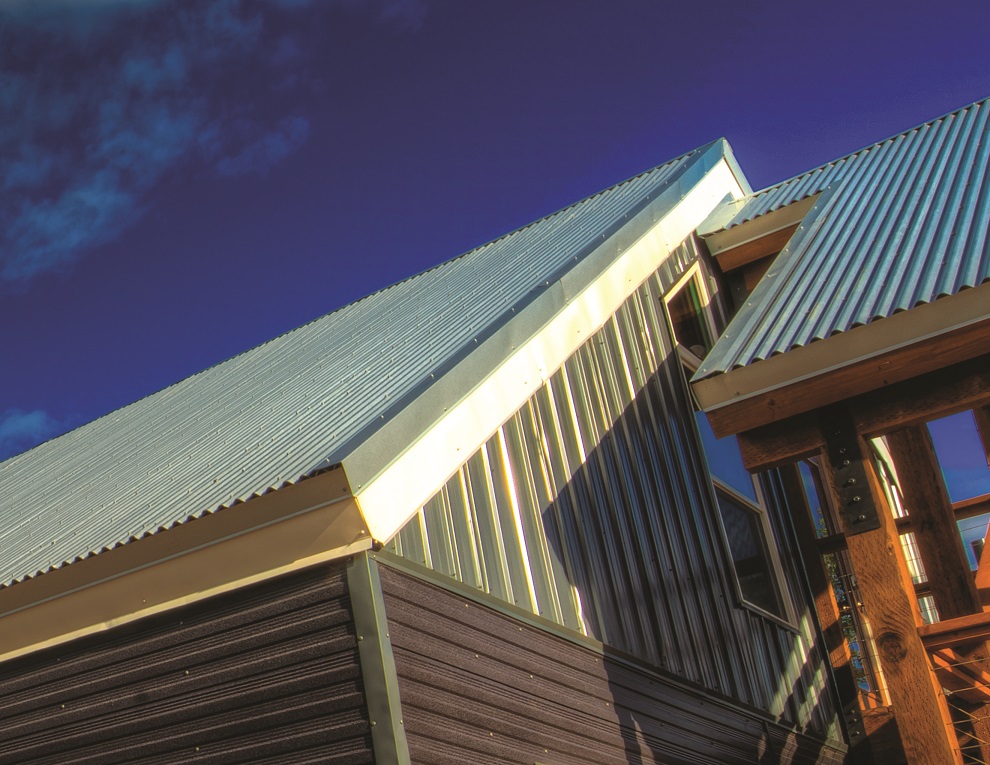
The two main types of metal roofing — exposed fastener and concealed fastener (standing seam) — are identified and categorized by their attachment. What’s different about the attachment techniques? “Exposed fastener panels rely on a visible fastening device to secure the material to the structure,” Haddock says. “By contrast, concealed fastener panels have no visible attachment points. Concealed roofing can include direct attachment by way of a nail flange or clip attachment of the roof panel to the structure.”
David Quehl, director of sales and marketing, Direct Metals Inc., Fort Myers, Florida, explains that the most common fastener installation procedure for exposed fastener roofs involves a structural fastener, or a stitch or side lap fastener. “The structural fastener is used to secure 26-gauge corrugated metal panel to 16-, 14- or 12-gauge steel purlin, which is a secondary roof support that spans across the steel trusses. The fastener is positioned in the flat of the roof panel commonly next to the major rib of the panel. The stitch screw is used to fasten two 26-gauge panels at the point where they overlap to hold them securely.”
Miller explains exposed fastener metal roof installation involves the following steps:
If the panels are installed over a solid deck, installing a vapor barrier on the roofing surface is the first step. Vapor barriers are not required in applications where the metal panels span purlins or open rafters.
Next, fasten eave and valley trims to the substructure, and use tape sealant and inside closures per manufacturers’ recommendations. With these items addressed, normally, it’s time to lay your first panel. Be sure to remove any protective film from the trim before installation.
Per your developed layout plan, place your first panel at the eave/gable edge. It’s essential to consider the manufacturer’s recommended lap direction before beginning installation to ensure you’re starting at the proper point on the building. And, of course, it’s critical to square the first panel before attaching it to the substructure.
Continue to install panels following the manufacturer’s recommended fastener spacing and sequence. Be sure to check each third to fourth panel to ensure you’re maintaining cover width modularity.
After completing panel installation, it’s time to install any remaining trim items such as gable/rakes, ridge, and hip caps using tape sealant and outside closures per the manufacturer’s recommendation.
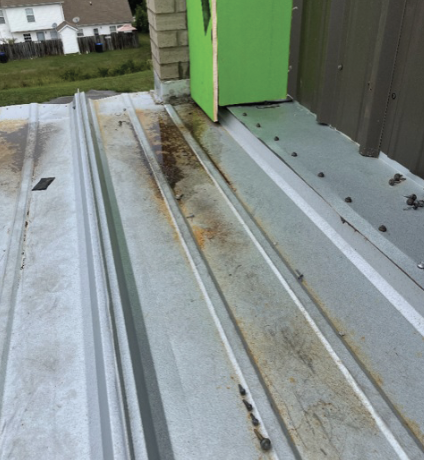
Remember to sweep the roof at the end of each day to remove any screw filings. If not, they will rust on the panel.
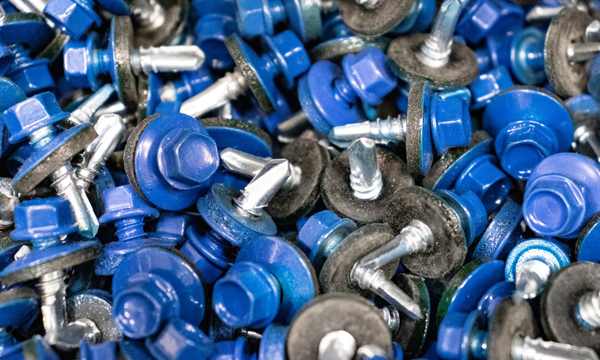
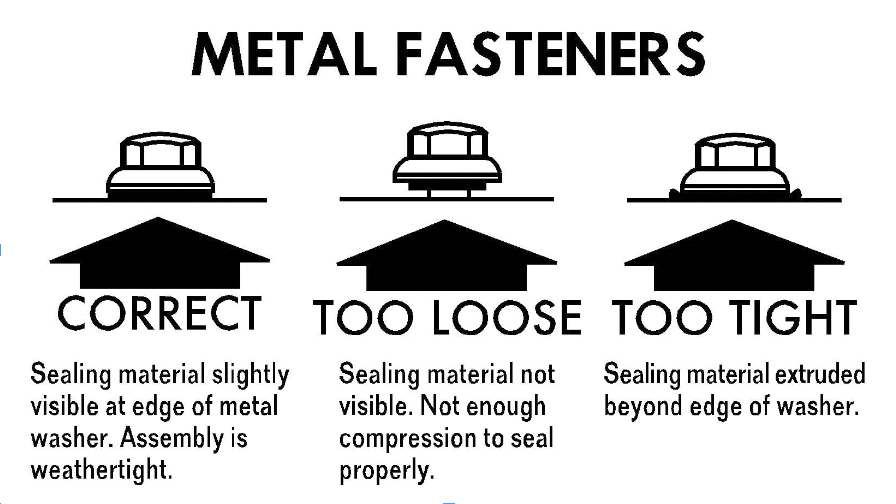
The Fastener
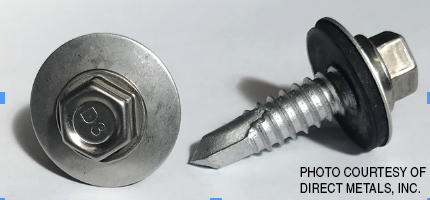
Correct fastener installation is one of the most critical steps when installing metal roof panels. The manufacturer will include the approved fastener size based on the panel in its approval report or its installation guide. This is how the panels were tested and load tables generated.
In high-wind areas, panels in the corner and edge zones may require closer spacing to accommodate the increased suction loads. “Follow engineering and manufacturers’ recommendations for additional screw spacing in high-wind regions,” Graves says. “Unless the panel has been tested with fasteners through the high rib, do not install through the high rib. This will not simulate a standing seam roof, as there is no backing to support the fastener. Uplift and gravity loads are undefined, and the screw cannot seal against the panel if there is not adequate support to allow tightening to clamp and compress the washer to the panel. As the panel high rib is pulled downward, the flat of the panel will bend upward.”
Fasteners installed in the flat of the metal with proper sealing washer depth will provide maximum protection against leaks and help maximize the diaphragm strength of the building. Fasteners must be installed perpendicular to the roof plane, not on an angle, and the washer should be properly seated. Fasteners installed too loose (underdriven) allow a quick entry point for water into the building envelope. Fasteners installed too tight (overdriven), may compress the washers on the screws, and could crack, split and erode quickly allowing water to penetrate through the fastener hole.
Quehl explains butyl mastic tape sealant should be applied between roof panels on the high rib at each panel overlap. “This helps to prevent a siphoning effect as water runs down a panel.”
In spite of the above instructions, there is no concrete rule for all fastener installations across all panel types and all manufacturers. Again, because manufacturers have designed and tested each panel system for attachment in a specific manner, it’s important to follow those instructions. For example, at McElroy Metal, Miller says they even specify the sequence and order of which fastener is installed first, second, etc., across the width of the panel. MR