By Caroll Marston
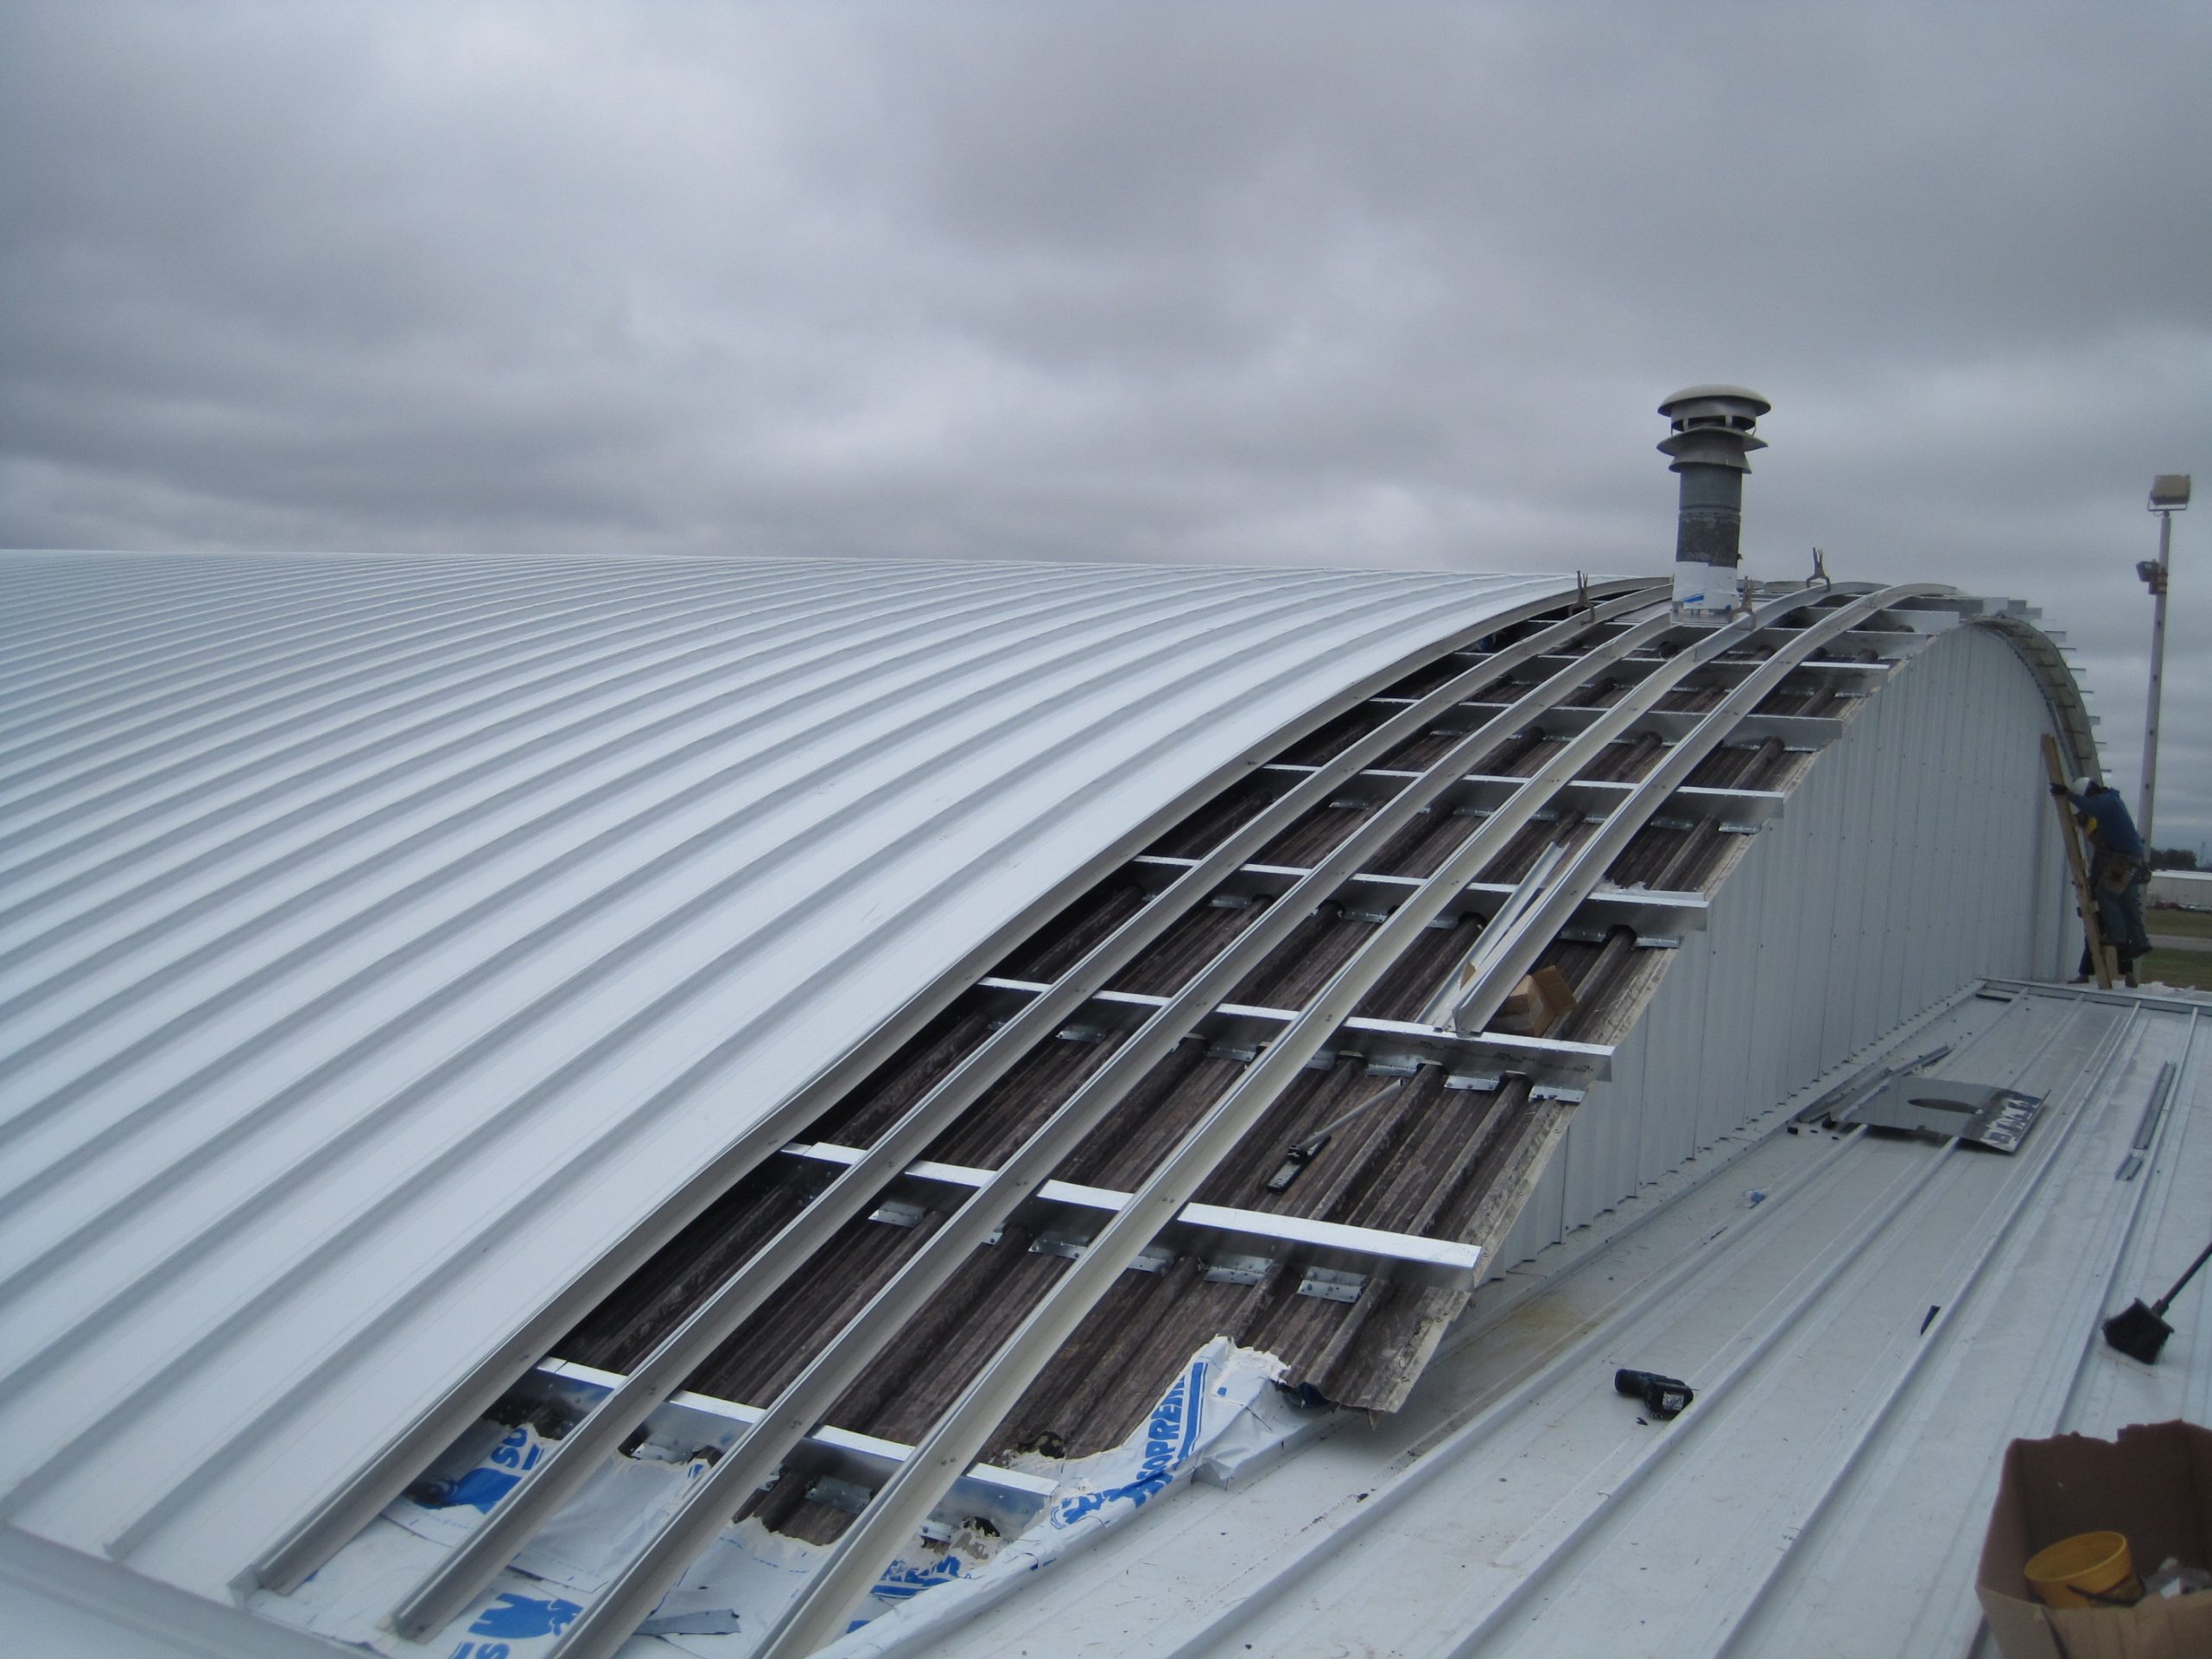
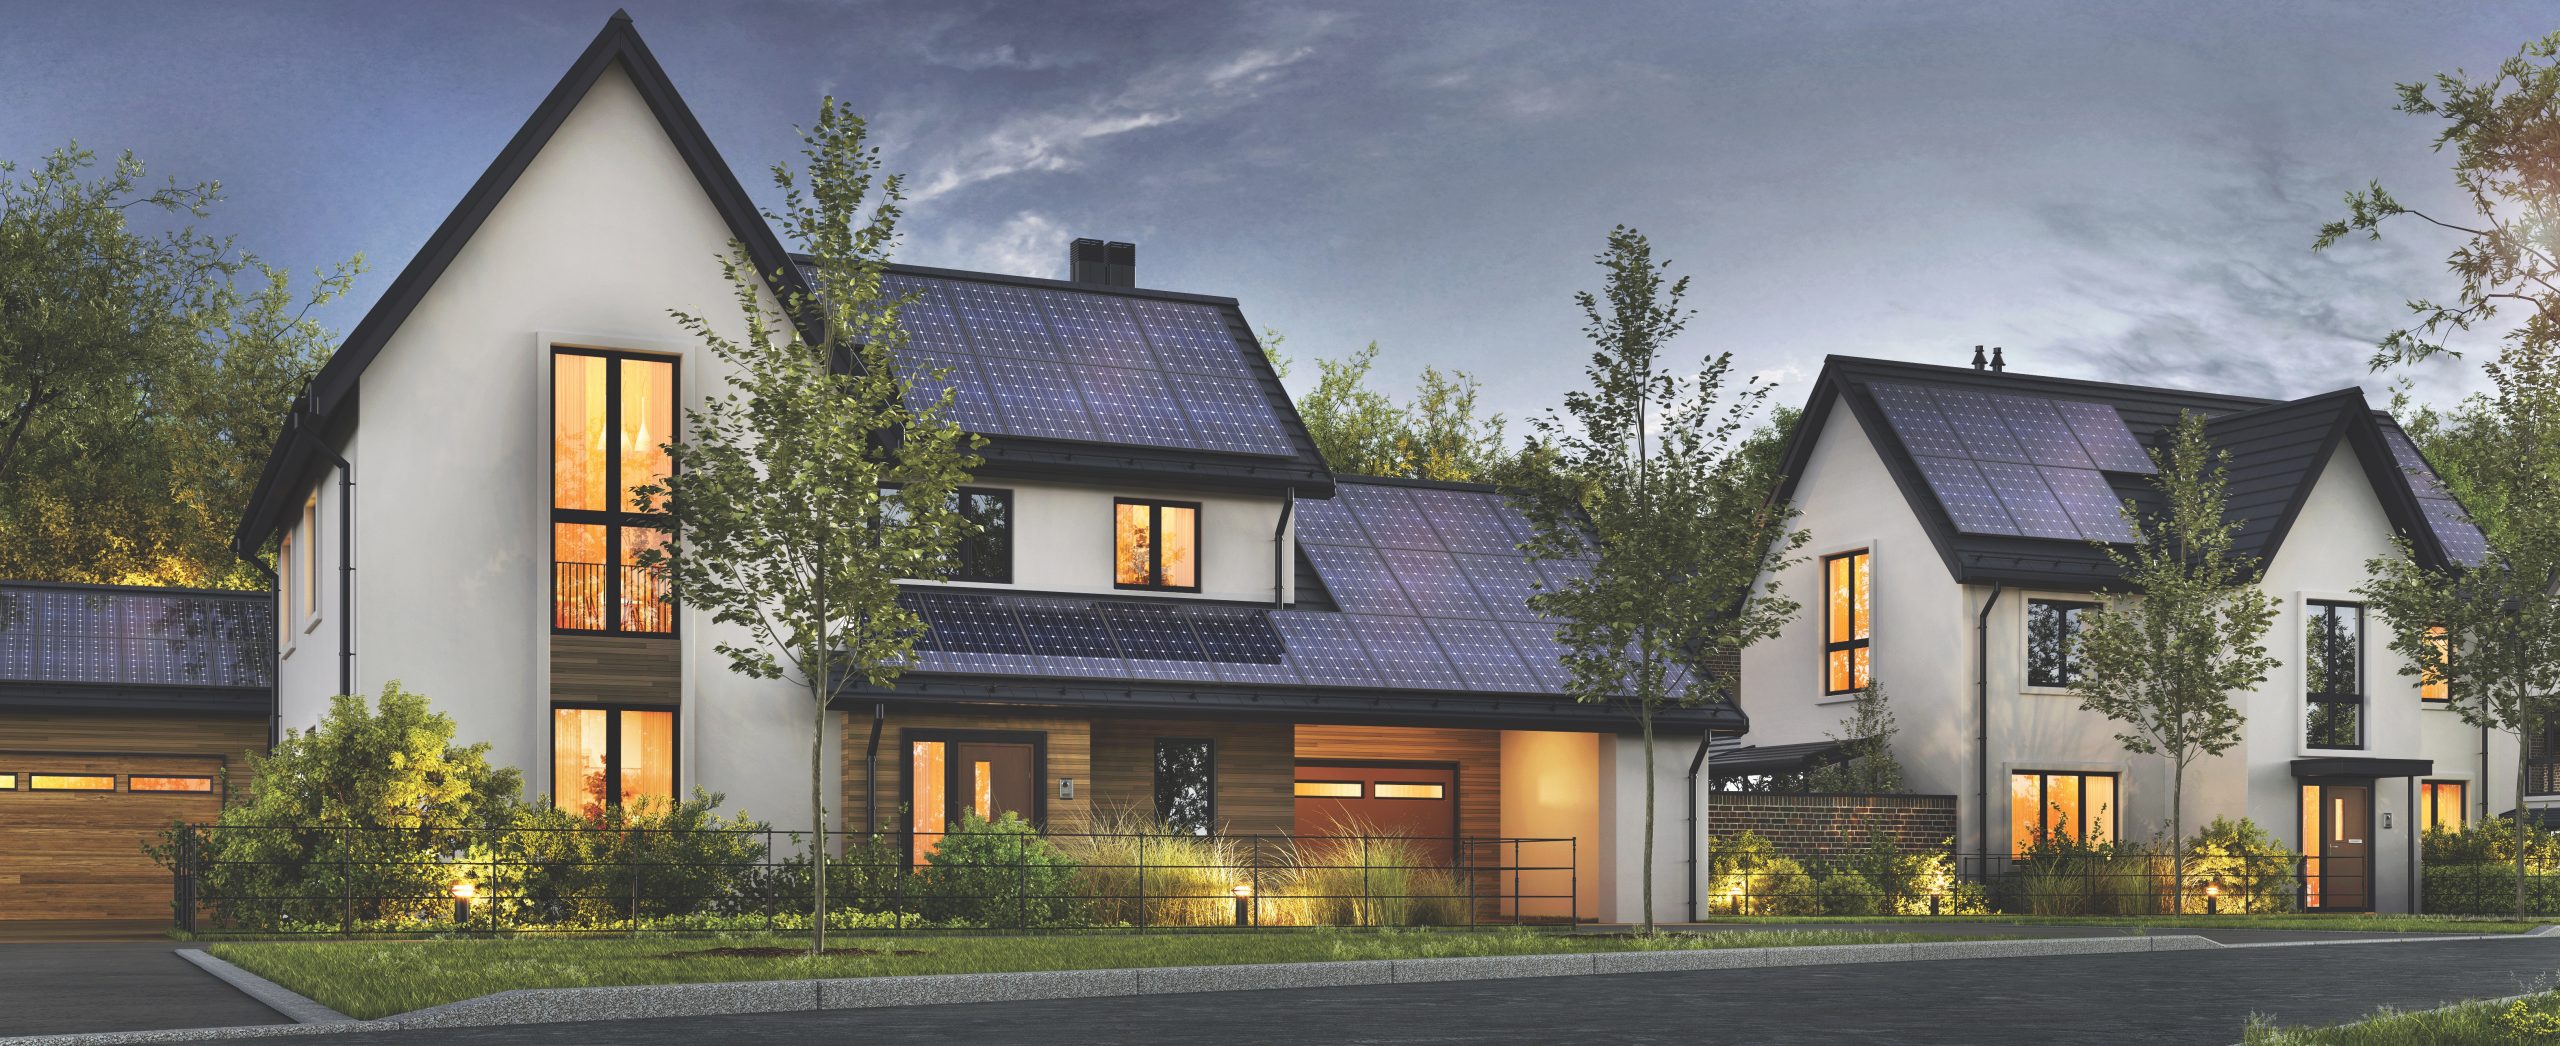
Before diving too deeply into solar panel attachment options, let’s look at the structure just below the Photovoltaic (PV) Solar Panels: the roofing material itself. Standing Seam Metals Roofs (SSMRs), for example, have been gaining in popularity over the last several years, especially in the residential market. This has happened for several reasons, first and foremost being that metal roofs are very durable, and with life spans from 30 to 50 years, they will far outlast the current Photovoltaic Systems (which can endure for approximately 20 to 25 years, or more).
Secondly, metal roofs are strong and typically hold up in adverse weather conditions, including heavy rains with high winds. Lastly, metal roofs can have a cooling effect due to reflective coatings and can reduce energy consumption by up to 20%, which complements solar arrays perfectly. For these reasons, if you are planning on installing a solar system and the client’s roof has seen its better days, now would be the perfect time for them to invest in a new metal roof. At this point, it is worth noting that SSMRs do work better from a structural standpoint when one is considering various mounting attachment solutions.
There are two types of solar mounting systems for metal roofs: rackless and rack/rail type systems. Deciding which to use will be determined by the kind of metal roof (standing seam with concealed fasteners or exposed fastener metal roofs). SSMRs with concealed fasteners allow attachments to be secured directly to the standing seam ribs. If the metal roof has exposed fasteners, like corrugated panels, then safely securing will only be accomplished by fastening directly through the panel and into structure below. Be sure to check the roofing manufacturer’s warranty, as some manufacturers will void the warranty if the panel is breached.
Additionally, all solar array systems should be engineered and designed with consideration for wind uplift loads. In snow country, you’ll need to take into account the snow loads plus the weight of the solar array, as well.
What to Know Before Beginning
Now let’s look at the skill set or knowledge base needed for a successful installation. The solar installer needs more than a cursory understanding about roofing. The panels in a SSMR installation are designed to expand lengthwise to accommodate the vast changes in temperature from winter to summer and night to day. Each roof panel is attached to the purlins with a clip. The base is fastened to the purlin and the top portion of the clip is formed to fit within the raised rib portion of the panel.
The clip is designed to allow the panel to move back and forth over the formed clip as the temperature changes. If the PV array rackless mounts or the mounts securing the rails to the roof panel are tightened over these clips, they likely will inhibit the thermal expansion, resulting in the panel buckling during extreme changes of temperature.
Another type of clip is a two-part assembly, which allows the top part of the clip that fastens into the roof panel rib to move laterally with the expanding panel, while still being connected to the base portion of the clip (which is secured to the purlins). Attaching the mounts over this type of clip won’t hinder the thermal expansion. However, the solar installer should contact the roofing contractor who installed the roof and ask what kind of clip was used and how to identify where the clips might be located. Often there is a ripple in the rib where the clip can be found.
Then, there are the “mechanics” of installing the solar “hardware” (rails, mounts to the roof, and clamps that hold the PV panels to the rails) and the recommended tightening torque values for each fastener. Contact the clamp manufacturer to find out the number of non-penetrating clamps needed to meet the local building codes for wind uplift and snow load requirements. Those design load values, vertical for wind uplift resistance and lateral (parallel to the roof rib) for snow load and dead-load resistance are based on stringent third-party testing for the specific roof panel configuration and material type and thickness. They are usually published with an identified safety factor as well.

Follow Torque Guidelines
Check with your local code official and ask what they require as a safety factor for design loads in their jurisdiction. Be sure to follow the correct installed torque recommendation from the manufacturer. If connected too loosely, it will not keep the PV array in place during a high windstorm. If installed too tightly, you may damage the roof rib by breaching the coating, which will result in rusting. You may also experience, as a result of overtightening, distorted roof ribs and potentially a fastener penetrating through part of the roof panel rib, creating leaks.
Many installers will use a torque wrench to apply the correct torque initially and then go back and double-check before proceeding with the installation of the next row of PV panels. Some roof panel designs and materials experience a slight amount of seam compression initially, resulting in a final torque value a little lower than first applied and would require re-torquing to the spec.
Beyond the “mechanics” of installation, knowledge in wiring the PV panels correctly, installing the ancillary hardware, inverters, rapid shutdown devices, wiring the grounding path accurately, etc., is also required. As with roofing design and installation, nationwide codes are often modified for the local conditions of high wind zones along the coast as well as higher than average snow loads in northern and mountainous climates for accessories mounted on rooftops. The fire marshal may require a certain setback to allow access to the roof by emergency personnel around the full PV array in case of a fire.
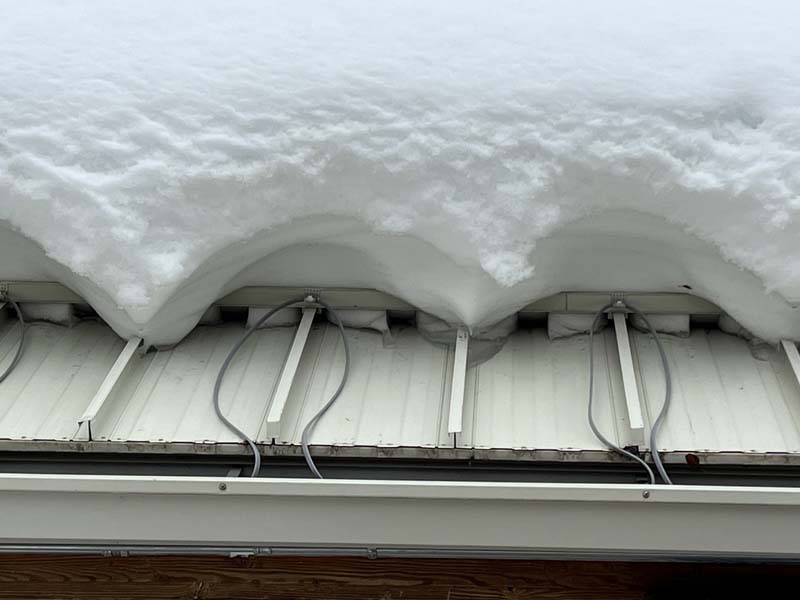
If the project is located in the Snowbelt, the building owner should be consulted about the possibility of including a snow-retention system on the roof below the PV array over any entrances or exits to the building, walkways, prized plantings, parking areas, etc. It’s best to consider these systems while the array is still on the drawing board because space may be needed at the eave over the structural wall, leaving adequate space below the PV array.
We recommend a 3′ to 4′ space, and the reason being is to allow the snow to begin to slide off the panels and collect while slowly melting off the roof, all while being held back by the snow rails. Many expensive gutters have been lost due to snow “avalanches” careening down the roof and catching the gutter edge before crashing to the ground. This aspect of the system has often been an afterthought in the past, but more installers are discussing snow retention as an accident preventive practice.
How Attachments Work with Different Roof Types
There are a variety of roll-formed roof panels on the market and new ones being developed every day. Clamp manufacturers have tried to keep up with the new rib configurations by creating clamp profiles that work to conform strictly to the roof panel rib to minimize the distortion when tightening. The illustration on the bottom of pages 18-19 shows the current variety of AceClamps and the standard roof panels that they can be used with.
Common roof panel materials are steel, aluminum, zinc, and copper. Steel panels are manufactured from 22-gauge to 26-gauge material. Aluminum is usually 0.040″ or 0.032″. Copper 16 and 20 oz, and zinc 2-gauge. As the material thickness decreases and/or hardness decreases, more load testing may be required to determine the optimum installed torque and resulting vertical and lateral design loads. Those load ratings will allow the engineers to determine how many and where to place the clamps to best keep the array in place during severe winds or snow.
Exposed fastener or corrugated roof panels require different types of mounts, which are fastened through the panel and usually into the purlins or rafters. Proper sealing and caulking are required to keep water from penetrating the roof during the service life of the PV panels. Be sure to choose the correct sealant to withstand the UV from the sun and the temperature variations from season to season.
Low-Sloped Versus Steep-Sloped Roofs
When necessary precautions are taken, low-sloped to steep-sloped roofs can be suited for solar arrays. A low-slope roof is one that is equal or less than 2:12 pitch (9.5 degrees). Anything higher is considered a “steep” slope. Generally speaking, either type of roof is a good candidate for solar. The steeper roof will require more attention to safety-related material handling and personnel techniques. Systems installed at the lower slopes may be more affected by high snow loads. Be sure to follow the local codes for wind uplift and snow loading for whichever slope the roof is.

Using a Full Clamp System
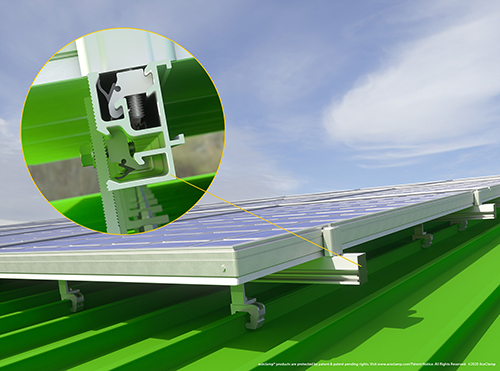
Time saved during installation provides more opportunities for a contractor to get to the next job faster, as well as cost savings for the final customer. AceClamp products are all designed with the contractor in mind. Clamps and accessories are all fully assembled at the factory so that the installer can take the clamp out of the box and onto the roof without first having to assemble setscrews, washers clips, or whatever to make the component roof-ready. Our new Solar Snap™ rail system is designed in the same way—bolts and connectors are assembled and “snap” into the rails securing the L-Foot or PV panels quickly and securely. By design, you’ll also feel a tactile sensation of the slide nut snapping and locking into place, just another way for our customers to feel confident that the components were safely and securely installed.
We replaced setscrews during the early stages of our AceClamp design after seeing firsthand the difficulty a contractor had while trying to insert setscrews into a competitor’s clamp body on a cold day in northern New York. AceClamp’s factory-assembled patented “sliding pin” design on all of our A2 series allows both sliding pins to be equally tightened across the standing seam rib using a 9/16″ nut driver—a quick check with a torque wrench and off to the next A2 clamp. Not only is installation a breeze, but the sliding pins also minimize the possibility of scouring or damaging the coating during installation.
Roof and Solar Maintenance
Spot-check the resulting torque on the bolts for the clamps and racking after any severe wind event. If there have been significant accumulations of snow, be sure to check for any displaced mounts or damage to the racking components. Remove any buildup of leaves and debris under the PV panels. Proper airflow is necessary to keep PV panels operating at optimum efficiency. Clean PV panels as required by the panel manufacturer.
Significant roof repairs may require partial or full removal of the solar array. Removal should be handled by the original installer of the existing solar panel array and coordinated with the roofing specialist.
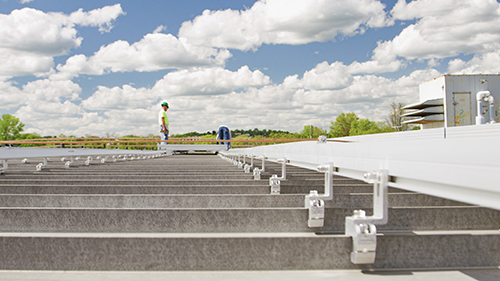
On the Horizon for Solar Attachments
The combination of researching industry reports about some of the racking systems that failed during the recent hurricanes in Puerto Rico and rummaging through piles of rails in the salvage yards enabled our engineers to develop a new solution. The engineers developed Solar Snap™, an adaptive racking system. Less storm damage means that the system will be up and producing electricity sooner. We have also designed this new system for the speed of installation. L-Foot connections snap into the side of the rail and are torqued into place. The solar clamps that secure the PV panels also snap into place and are then torqued to specification. Very few loose parts—listen to hear the “snap” to know that you have installed the systems correctly.