Every project is important and comes with its own set of challenges, so the last thing you need to deal with is damaged panels, whether kinked, rusted, or scratched.
The first thing manufacturers will advise is that you should follow the handling directions they provide in order to avoid damaging panels. Make sure that the actual panel handlers are provided training with the tools they will be using.
Planning and prep are the next things on the list before you even start the roofing job. For example, you will need to consider the slope of the roof, the height above ground, what type of roof you have…deck or open frame, the weather conditions, the manpower and equipment needed in order to develop a plan. A good plan can prevent damage to panels.
However, there is more to damage prevention. Let’s get into some of the considerations that can make the difference between a job running smoothly and a scenario where the job is delayed due to damaged panels.
Storage is Important
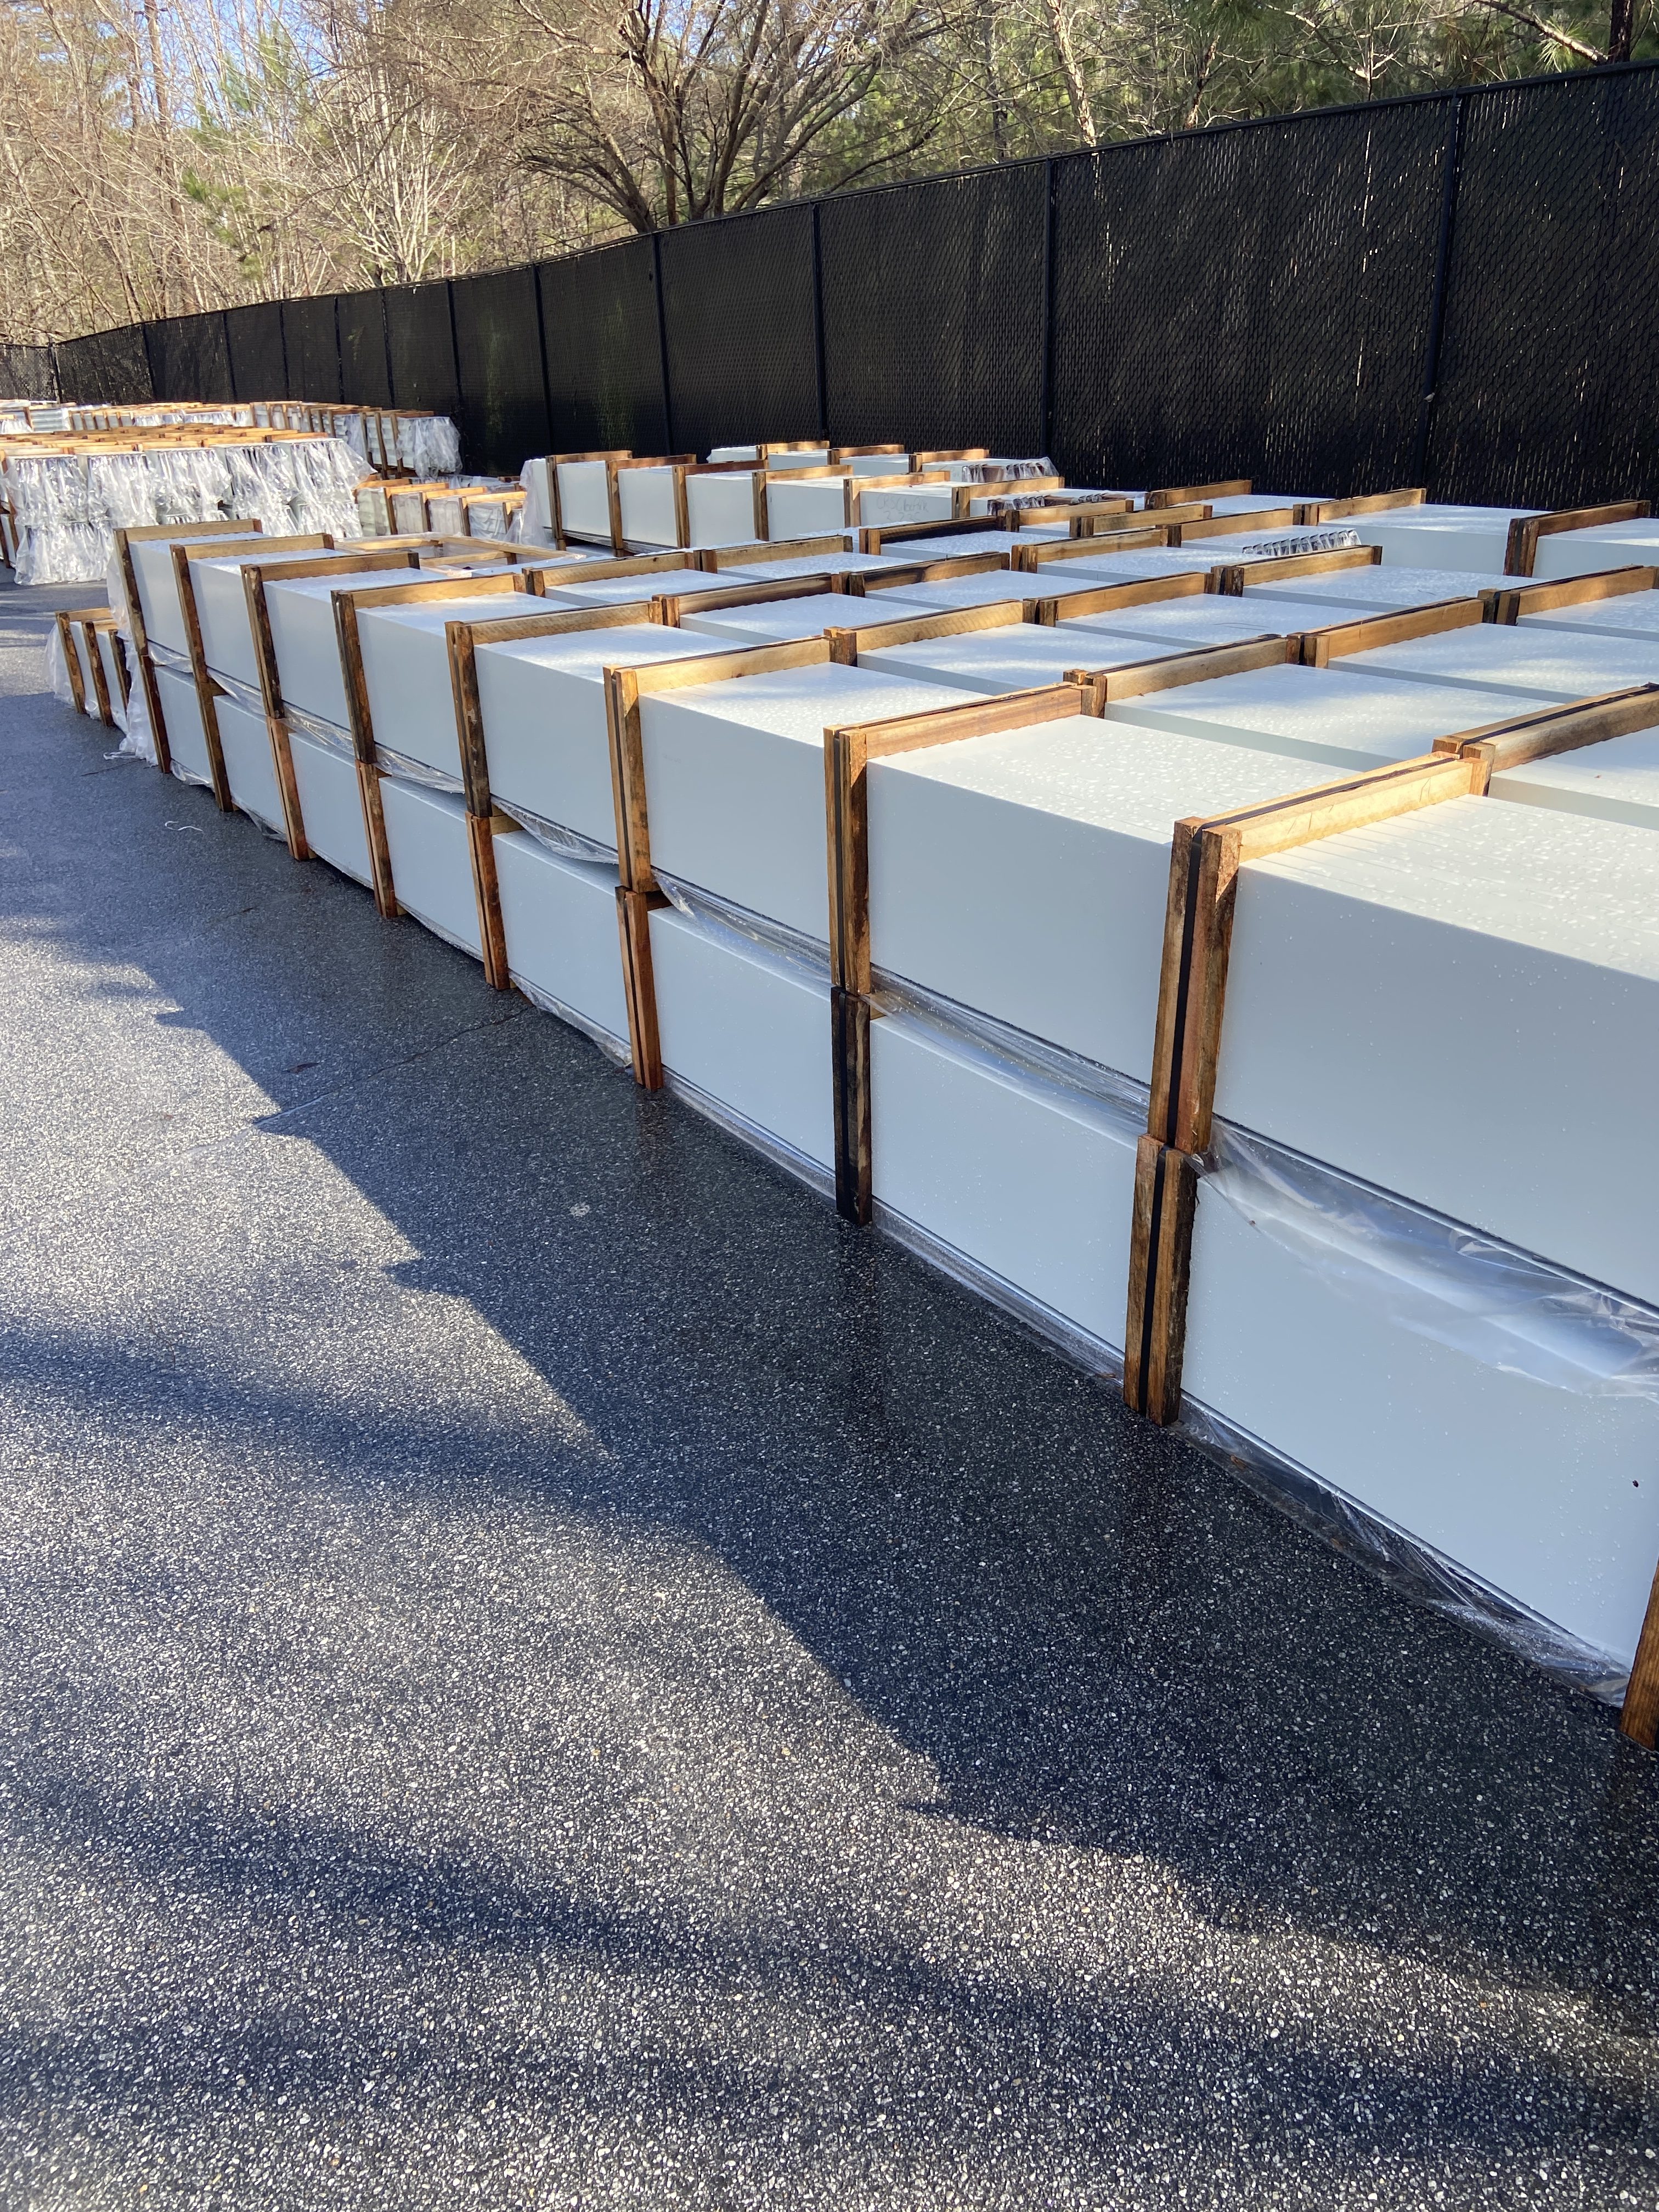
When your panels come in, they should be packaged in one of two ways: blocked and banded or in wooden crates.
In the blocked and banded version, the wooden blocks are screwed together to create a “C”. On the sides the panels are placed so you see the back of the panels, thereby protecting all the panels from scratching.
Some manufacturers say they package the panels standing on edge, oriented face to face and back to back in alternating sequences. The panels are packed into bundles so that 3-4 bundles lay side-by-side in the back of the semi-trailer, stacked 3-4 bundles high. The height of the panel seam determines how many panels are in a bundle. For example, a 1 3/8” standing seam panel can have up to 42 panels per bundle, while a 2” tall bundle should only have up to 28 panels. Also, as the length increases, the number of panels will decrease to reduce the weight. The block and band are spaced 4’ to 6’ along the bundle. At the end they may have an OSB or plywood end cap to help keep the bundle square.
It’s best to keep them in this configuration until they are needed. They can be lifted with a crane or a fork-lift or stacked block to block just as they are.
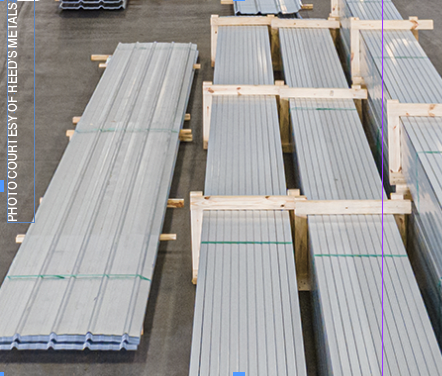
Crating the panels with 2x4s and plywood can keep them safe also. Some experts find that there are other challenges associated with crates including excess motion required for crating and the cost of the extra wood. Others like the solidity of the crate.
Keeping them in their protective packaging, store the standing seam panels in a protected area away from anywhere that water or snow can rust the panels.
Beware of chemical damage also. Green concrete does a lot of out-gassing in the first 30 days after it is poured. If you are placing panels on it, you will need padding in between. Concrete dust from sawing is also a problem, as well as commonly used spray chemicals that can stain the panels. Elevate the panels with blocks and slope them for proper drainage of moisture. If necessary, cover them with a waterproof tarp, but take care not to restrict air movement around the panels.
In the best case scenario, the panels are not put into storage at all or at least not for long. Sometimes panels are ordered in advance and end up sitting on the jobsite for up to a year, thereby exposing them to many possible accidents, including staining, corrosion, and getting banged up. Further, if sealants are left on-site with the panels in a tube or box, they can deteriorate. In fact, it is not a good idea to leave any trims, clips, or fasteners on-site for long. Trims with strip-able film have a special challenge; the film starts to bond, then deteriorate and it can leave a residue that is time-consuming to remove.
Moving Panels
If you are forming your own panels, it helps if you have an automated system for moving panels onto skids after fabrication, for example via overhead lifts. Once crated, a crane can pick them up and load them directly onto the truck bed.

When panels are shipped, they should be protected as already mentioned with blocks and bands or crates. Skids can be reinforced on sides and bottoms for extra protection. Load plans can ensure the trucks are packed in the best possible manner to avoid load shifts for the safety of the people as well as protection of the panels. Finally, tarps can be added for moisture protection.
Moving the panels directly to the roof from the truck is the safest way to unload them, but this is not always possible. When your job permits this method, ensure that end dams are installed at the eave to prevent panels from sliding off the building.
If direct transport to the roof is not feasible, the panels can be stacked on the ground. Make sure that they are stacked on a slope for drainage and that they are not placed in the way of other ongoing work so that they do not get damaged. You may need to cover the panels with a tarp, but make sure there is space at the bottom of the tarp for air flow or condensation can become a problem. This is also true for coil storage; the best bet is to store coil in a shipping container.
Whether moving panels onto a truck for shipment, moving them up to the roof, or taking them off the truck and stacking them on the ground, kinking can happen when you move the panels with a crane with incorrect spreader bar spacing. For example, if you use 2” wide straps, the lifting power is there, but such a narrow width causes pressure which can lead to bending. A common strap is 6” wide. If the bundle is 40 feet long, place one strap on one side and one on the other, picking points from the spreader beam down. Using only two points of contact can create a problem too. Four points spreads the weight of the load better, diminishing the likelihood of bending.
Sometimes an extended reach forklift can be used for unloading a truck, assuming the panels are not too long. Ensure that the fork is level. If they are tilted, the bundle may fold.
An experienced roofer will prefer to take the panels to the roof to cut the bands and disassemble the panels from their packaging. Depending on what is on-site, some roofers will unwrap them on the ground, then put them on the spreader beam and haul them because the equipment can’t handle the weight of the panels in their wooden packaging.
Contractors must plan for the weight that will need to be lifted for each job so that they can have the proper equipment on-site. When there are 3,000 panels to lift to the 4th floor and your equipment cannot handle it, your guys are going to pay the price. You will also need to take care that you do not overload any area of the roof with too much weight.
If you are stacking loose panels on the roof, they will need to be secured with banding screwed to the deck or ropes that run under heavy stacked panels and tied at the top. Once again, it’s a good idea to use an end dam at the eave to prevent panels from sliding off the roof.
Manual Movements
While the experts emphasize that, due to the length of most panels they should be moved via a hoist or other equipment, there may be times that manual lifting is unavoidable. If this is the case, there is definitely a right way and a wrong way to do it. Mainly this has to do with two things: having enough people and working together. Following these guidelines helps avoid worker injury as well as damage to panels that could be dropped, banged, or kinked.
How many are needed to move panels depends on the roofing material, steel or aluminum for example, and the length of the panels. Forty foot panels should have 3-4 people, approximately one for every 10 feet, evenly spaced down the length of the panel. Hold panels in a vertical position when moving them.
If you are moving the panels across the roof, ensure that everyone is standing so that if a big gust of wind comes along, no one will be blown off the roof.
Working together as a team means that before you pick anything up you all know the plan: Where are you going and the pathway there. If possible, remove any item from the path that might be a hazard.
Coordinate your movements, starting together and moving in the same direction at the same time because if you have people pulling in different directions it is easy for someone to end up with back strain. The easiest way to avoid this may be to appoint someone “drill sergeant” to direct everyone.
If panels need to be carried over the ridge of the roof, you will probably have to turn the panel parallel to the ridge, unless the slope is 2/12 or below.
Lifting Advice for Small Roofing Companies
For a small company that is looking at what is needed for jobs at an affordable price, hoists can be rented by the day or by the week, and are considered by some of the experts to be the best way to handle crates of standing seam panels.
Portable or small cranes like Spydercranes can be low cost and relatively simple to use A lull lift that features an extending boom is another possibility; it should do the job if lifting supplies to a second or third floor. It can drive over rough terrain, and it will cost less than hiring a crane company to set up a crane.
In choosing a lift, one must always take into consideration the height it will need to ascend to, the weight capacity, the reaching distance, and all the capabilities of the piece of equipment they are looking at.
If you have the capability of fabricating panels right on-site, a good solution can be shooting them directly onto the roof via a “tilt trailer” which eliminates the need for cranes and lifts.
If no hoist is available, the panels can be hand-fed by multiple people to the roof’s eve for the workers on the roof to install them one at a time, assuming you have enough workers to keep the panels from bending and kinking. You could also lift panels individually by rope with a clamp on the seam.
Thank you to these industry sources
who Shared Their Expertise and insights:
• Charlie Smith, McElroy Metal, www.mcelroymetal.com
• Arnold Corbin, Centria a Nucor Company, centria.com
• Reed’s Metals, reedsmetals.com
• Corey Smith, imetco, imetco.com
• Brian Hatmaker, Petersen | PAC-CLAD, www.pac-clad.com
MR