By Karen Knapstein
A closer look at mechanical roof seaming
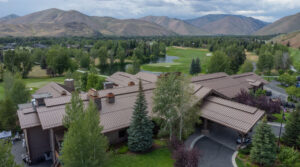
Standing seam metal roofs are a premium choice for homeowners, offering unmatched durability and weather resistance. While the cost of these roofs is significantly higher than asphalt shingles, affluent homeowners and those in specific regions find them a worthwhile investment. Coastal areas demand corrosion resistance and strong uplift ratings, often achieved with aluminum panels and mechanical seaming. Mountainous regions benefit from their ability to withstand harsh weather while blending into rustic surroundings.
For roofers, installing a mechanically seamed metal roof system requires precision, expertise, and a commitment to best practices. This guide will walk you through the essential considerations and techniques to ensure success.
Understanding Mechanical Seaming
Mechanical seaming involves using specialized machines and hand tools to join the edges of metal panels, creating a weathertight and secure connection. Unlike snap-lock systems that simply snap together, mechanical seaming bends and locks the panel seams, delivering superior structural integrity and resistance to environmental forces.
Every roof system comes with its own specifications, and failing to adhere to these can void warranties and compromise performance. Before beginning, verify that the panels are roll-formed to the correct dimensions for the power seamer you’re using. Most residential standing seam panels are made from 26- or 24-gauge painted steel or .032” thick painted aluminum. Dimensions are critical—typical residential panels feature a 1” or 1.5” seam height, with a ½” wide web.
Types of Residential Mechanical Seaming
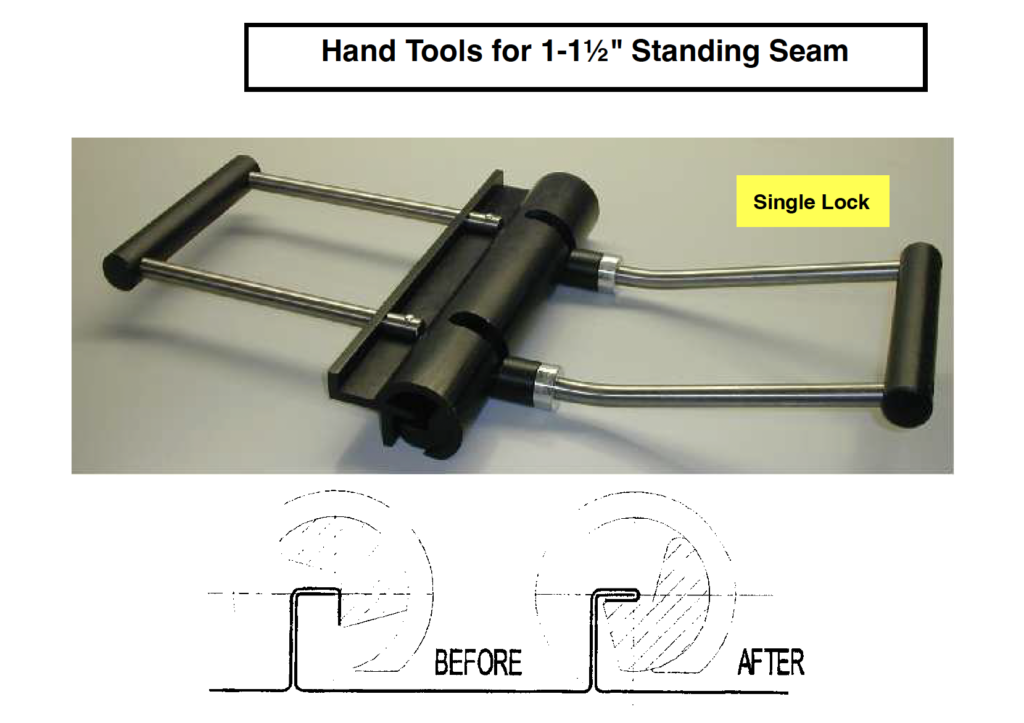
1. Single-Lock Seaming
• Easier and faster to install.
• Allows bidirectional seaming (uphill and downhill) on 95% of panels.
• Produces less visible clip bleed-through.
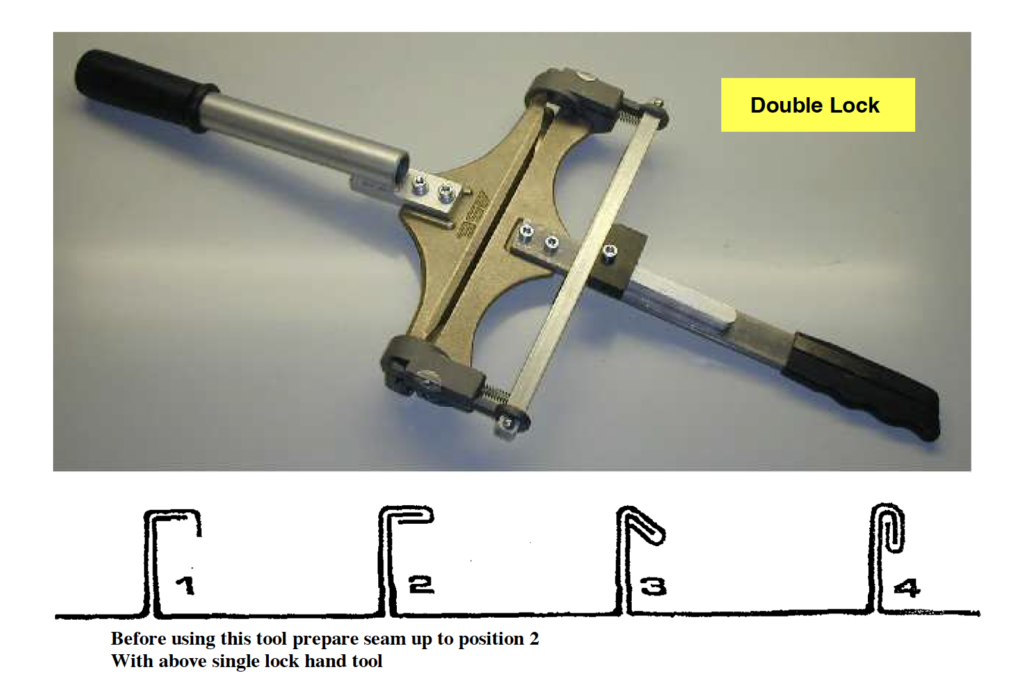
2. Double-Lock Seaming
• Requires more time and effort as it operates in only one direction.
• Offers enhanced durability and resistance, ideal for extreme conditions.
When Is Hand Seaming Necessary?
• To prepare a seam for a power seamer. Power seamers need a properly seamed section to latch on and operate as it is designed.
• On short runs, power seaming is impractical.
• Sometimes the situation or materials prevent the use of a power seamer.
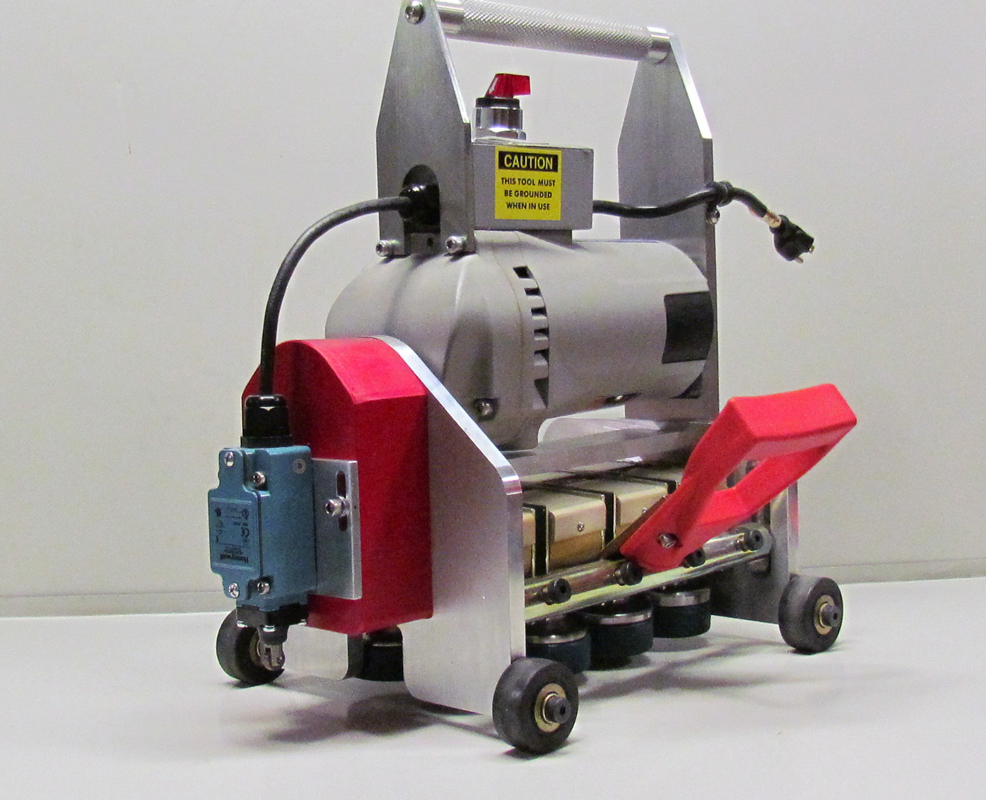
A runner switch extends at the front, cuts power to the wheels, so the seamer doesn’t run off the roof.
Photo courtesy of Rollformer LLC
Signs of Installation Issues
Improper seaming can lead to leaks, reduced uplift resistance, and failed warranties. Here’s what to watch for:
• Panel Misalignment: If the seamer rides off the seam or folds it incorrectly, check that the panels are properly installed and meet dimensional specifications.
• Loose Modulation: The male and female vertical legs of the panels should fit tightly. Spread-out legs will cause seaming issues.
• Distorted Seams: If the seam isn’t rolled over cleanly or appears uneven, stop immediately. Replacing one bad panel is far better than dealing with an entire roof of defective panels.
Best Practices for Seaming
1. Safety First
Pay close attention to where you and the seamer are in relation to the end of the roof panel. Safety should always be at the forefront of any roofers mind while seaming standing seam panels.
2. Practice
Create test panels and practice both hand and power seaming in your shop. Mastering the technique beforehand saves time and prevents costly mistakes on the job site.
3. Ensure Adequate Power Supply
Use a 10-gauge extension cord no longer than 100 feet to prevent power loss. If using a generator, ensure it produces at least 2500 watts and has a 20-amp plug. Inconsistent power can damage the seamer’s motor and brushes.
4. Panel Placement
Install panels in modulation and crimp tightly at laps. End laps contain double the material and need extra attention to prevent seaming issues.
5. Proper Crimping
Hand-crimp thicker seam locations near clip positions to help the seamer glide smoothly over these areas.
6. Loading the Seamer
When aligning the seamer, ensure the locking handle pushes down easily. If it doesn’t, identify and fix the issue before proceeding. Forcing the handle can distort panels and damage the machine.
7. Maintain Cleanliness
Keep panels free of dirt during seaming to avoid damaging the tooling. Walk on adjacent panels rather than those being seamed to minimize disruptions.
Machine Maintenance
Treat your power seamer like the investment it is. Regular maintenance ensures optimal performance and longevity:
• Clean Build-Up: Remove butyl caulk residue and other debris as recommended by the manufacturer.
• Follow Guidelines: Adhere to the manufacturer’s instructions for cleaning and maintenance. Neglecting this can shorten the machine’s lifespan and lead to operational issues.
• Proper Storage: Properly store the seamer in a heavy-duty case to prevent damage when traveling to and from the jobsite.Managing Client Expectations
Educate building owners about the finished look of a mechanically seamed roof. Unlike snap-lock systems, mechanically seamed roofs often show slight clip bleed-through. While this trade-off affects aesthetics, it results in a stronger and more resilient roof. Ensure clients understand this balance before installation begins.
Conclusion
Mechanically seamed metal roofs offer unparalleled durability and performance when installed correctly. By following best practices, maintaining equipment, and continuously honing your skills, you can deliver high-quality results and build a reputation in this lucrative segment of the roofing industry. Many panel manufacturers provide training—take advantage of these resources to stay ahead and succeed in mechanical seaming.
Resources
DI Roof Seamers • www.diroofseamers.com
ESE Machines • www.esemachines.com
Malco Tools, Inc. • www.malcotools.com
Quality Roof Seamers • www.qualityroofseamers.com
Rollformer LLC • www.rollformerllc.com
Wuko Inc. • www.wukoinc.com

