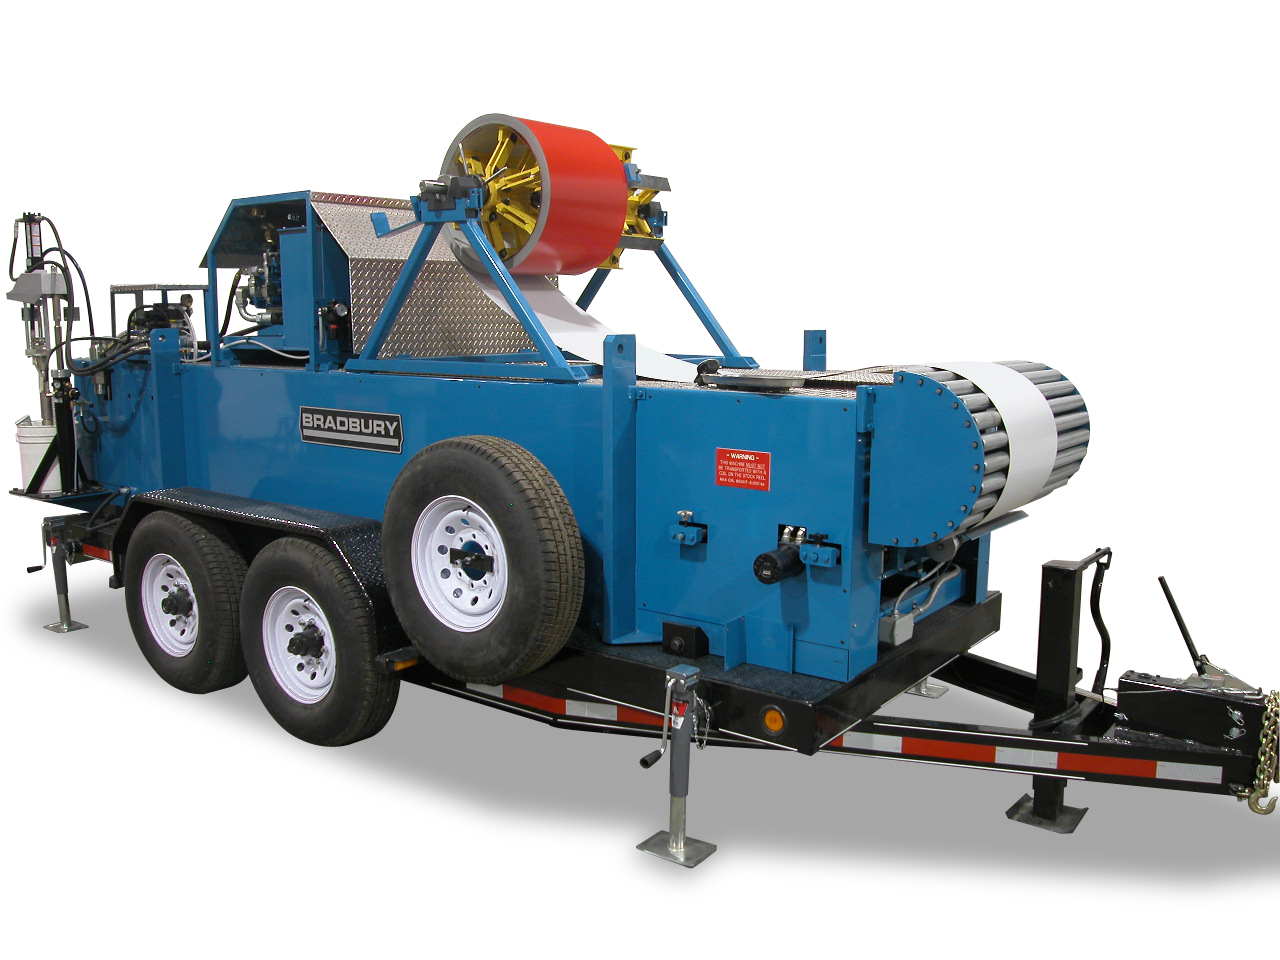
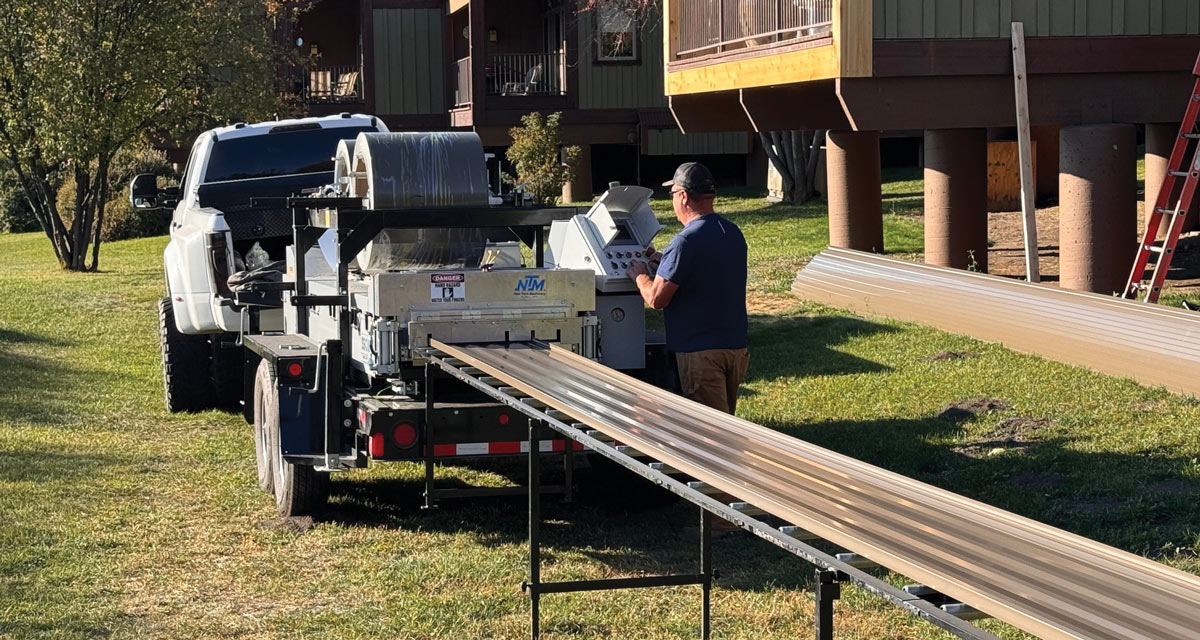
Ben Schmidt, Industry Sales Manager for The Bradbury Group, shared tips for repair versus replacement of the tooling on portable roll formers.
What to Look For
“There are basically two different types of tooling wear,” Schmidt explained, “a catastrophic event and normal wear.”
Catastrophic Event:
“Something bad happened; you can see it when it happens,” Schmidt said. Paint damage on the panel is one possible sign. Double sheeting is another sign—more than one sheet tries to go through at the same time. “When your tools are designed for 0.020″ and you send three .015″ sheets through, you have 0.045″ of material trying to run through a 0.020″ gap. Worst case? Your machine stalls. Best case? [The panel] gets through but you end up with worn areas [on your tooling] that will immediately wipe out your bending radii,” Schmidt said.
Normal Wear:
With normal wear, you’ll notice a gradual decline. “As you run steel, the bending radii will become lessened. It becomes loose—you can see it in the dies,” Schmidt said. Technicians use radius gauges to check for wear. Common problems may include: panel coverage running wide, reduced panel features, wavy edge on overlap, panel flatness control—crossbow affect, large bending radii, and degraded quality on post-cut lines.


Repair Options
The best-case scenario is that you can repair your machine rather than replace the tooling. Repair solutions include:
Calibration:
“When you calibrate a machine, you’ll be setting your vertical clearances and horizontal clearances, then set your pass-to-pass settings to make sure it aligns throughout,” Schmidt instructed.
Vertical and Horizontal Tooling Clearances:
Tooling should be calibrated for the maximum material thickness for which the tooling was designed.
Pass-to-Pass Alignment:
Tooling that has been inspected and calibrated within each individual pass needs to be checked for alignment from tooling pass to tooling pass. Identify the common spacer/roll width sizes, then assure the gap on the precision straight edge does not exceed 0.010″ from pass to pass. Schmidt noted, “Engineers design in a perfect world, so make sure the gaps are the same on each piece of tooling.”
When Repairs Don’t Work
If calibration and alignment don’t solve the issue, three options are left:
Recutting:
When you have tools recut, the tools and spacers are removed, sent to the factory, and stripped, retraced, re-profiled, re-chromed, inspected, and profile tested. The result will be a like-new profile with shrinkage of about 0.070″. The advantages include reduced cost—about 50% of a new set—and reduced lead time. One disadvantage is uncertainty. Schmidt said, “You don’t know for sure if those rolls are going to clean up.”
Partial Tooling:
Partial tooling replacement is a frequent request by customers who have lost minor rib definition or want to restore panel flatness. It is less expensive—about 25% of a new set—with less lead time. Unfortunately, there is no guarantee that new tooling intermixed with existing tooling will provide “like-new” conditions.
Complete Tooling Replacement:
In the case of a complete replacement, all tooling and spacers are replaced. In the end, you will have new tooling and the design flexibility to incorporate changes when the market changes. It does require a substantial capital investment, however, and behooves the owner to take a close look at the entire machine. “If the tool set is worn out, the roll former is probably worn out, too,” Schmidt said. “The worst thing you can do is put a brand-new set of tooling on a [machine] that needs help.” MR
For more information, visit www.bradburygroup.com.

