Originally Published as: Standing Seam Metal Roofs: Best Practices & Common Mistakes To Avoid
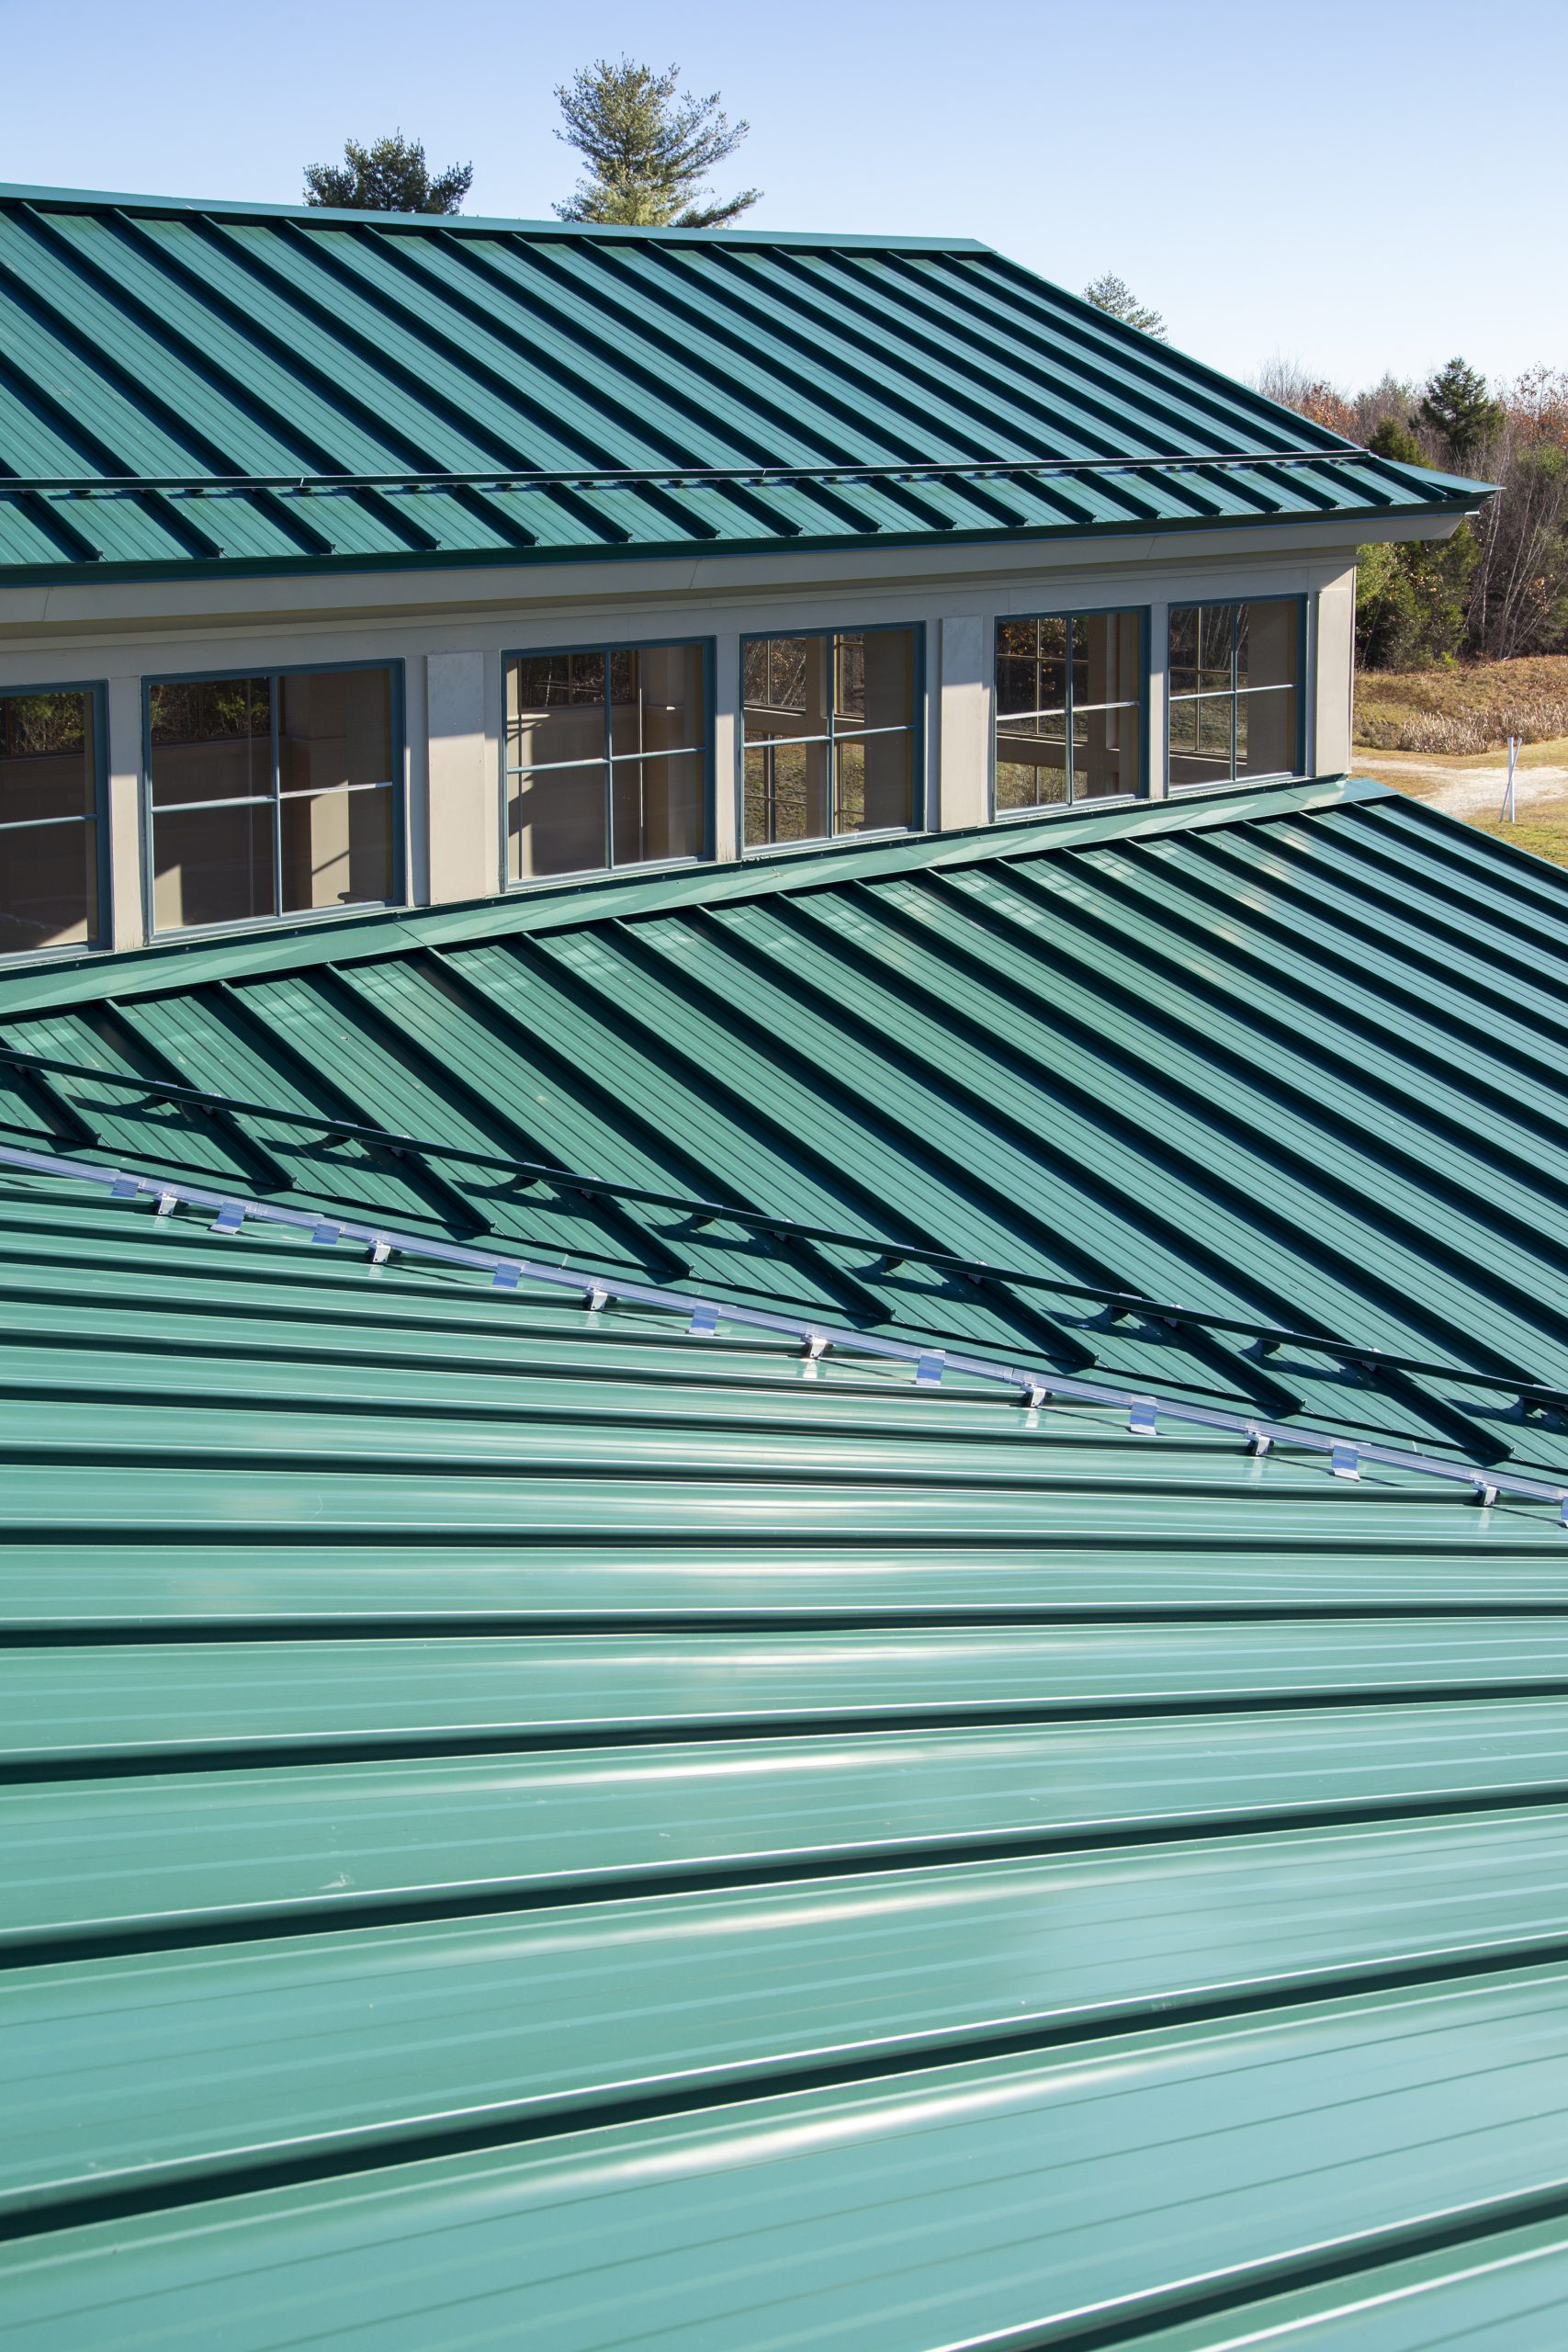
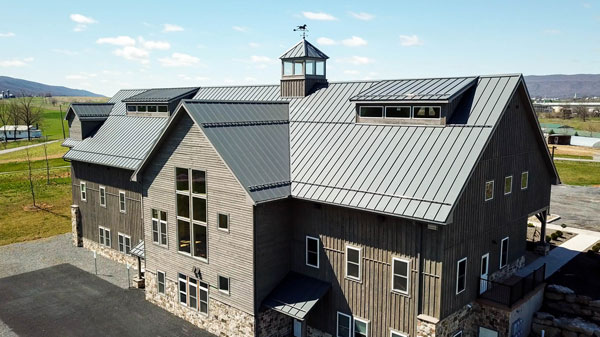
When creating a mechanically seamed or snap-lock standing seam roof, there are important factors to consider. These factors and insights can help avoid common mistakes and costly fixes. From the pre installation checks to the final inspections, there are specific tools, techniques, and configurations utilized to ensure that common mistakes are avoided.
Pre-installation Checks and Overlooked Site Prep Mistakes
Before installing the first panel, the substrate should be inspected. Lyon Metal Roofing states to ensure the roof deck is clean, clear of debris and dust. Inspect the roof for any damage, weaknesses, or rotting. If any issues are found, the sections should be repaired or replaced to allow for a sturdy new roof. Make certain that the roof deck is in good condition and made of the correct materials (typically plywood or OSB). Remove any nails, screws, or other protrusions that may impact the underlayment and damage or deform the metal panels. The surface should be smooth and uniform.
Some site preparation mistakes to avoid are ignoring proper deck inspection, inadequate roof measurements and layout, and choosing the incorrect materials. Proper deck inspections will directly impact the quality and stability of the roof. Accurate measurements are imperative before ordering panels; incorrect sizes will cause delays and additional costs. Utilizing the incorrect materials can lead to corrosion, leaks, and/or affect the roof’s integrity.
Panel Alignment and Tools
Panel alignment is critical when seaming a standing seam roof, both for appearance and functionality says Joe Beiler from Standing Seam Board & Batten Metal of Oklahoma. There are some important ways to ensure panels are aligned appropriately. Create a reference line along the edge of the building, square to the eave. Use the 3-4-5 triangle method to verify the line’s squareness to the ridge. Using chalk, mark this line along the eave, this will serve as a guide for the first panel. Another option would be to run a string line from eave to ridge, square to the eave, and use it to measure from back to each panel or utilize a laser level.
In addition to chalk, string, and laser levels, tools such as tape measures, framing squares, speed squares, and plumb bobs are also effective. These tools help mark reference points, confirm straight lines, and ensure spacing and alignment. Panel handling tools also help with gripping, aligning, and holding panels during installation.
Fastening Patterns and Clip Configurations
Andrew Mullen from Direct Metals, Inc., informs that it is important to use clips and fastener patterns used in the panel manufacturer’s engineering specifications or building code approval testing. Local building codes, in addition to the IBC, establish the minimum wind load requirements for a location and building type.
Higher wind pressure is found at the roof corners and edges as compared to the center of the roof. This means, closer clip spacing is needed in these areas to resist wind-uplift. Lower wind forces, such as in the center of the roof, can allow for wider clip spacing. The design of the panel and the seam height also influence uplift resistance. (As a side note: Thermal spacers are used beneath the clips to minimize heat transfer between the roof panels and the structure mainly when above-deck insulation is part of the assembly.)

It is important not to fail to maintain a consistent fastening pattern. Missing fasteners or inconsistent spacing can create weak points and lead to leaks or damage. Common signs of installation mistakes include leaks, loose panels, uneven surfaces, rust or corrosion, and/or excessive noise.
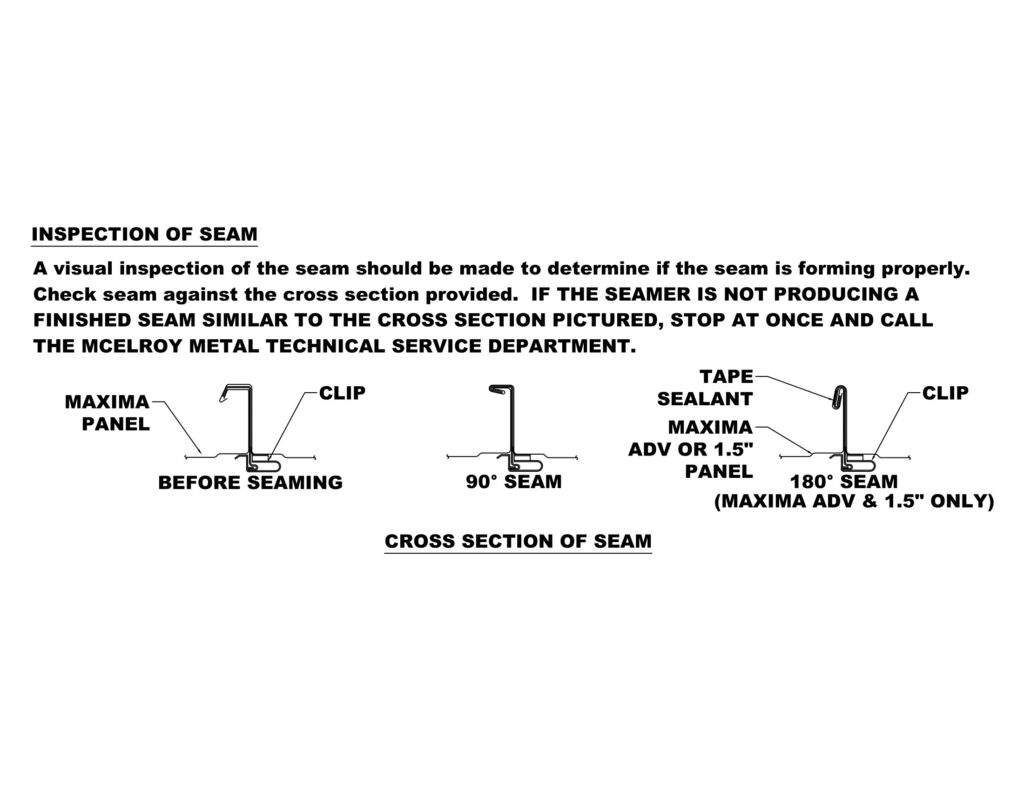
Metal Expansion and Contraction in Clips
Mullen explains that mechanically seamed concealed fastener panels use both fixed and expansion (sliding) clips. Fixed clips are generally used on shorter panel runs, while expansion clips are needed once panel lengths reach around 25 feet or more, depending on the manufacturer’s engineering and the climate.
Expansion or “floating” clips are designed in two pieces. The base is secured to the roof deck, and the top portion attaches to the panel. This design allows the panel to move back and forth with temperature changes, helping to prevent buckling, oil canning, or stress at the seams.
Snap-lock clip systems may allow for some limited thermal movement, but they are not the same as the full sliding clip assemblies used with mechanically seamed systems. Because of this, it’s important to follow the panel manufacturer’s installation guidelines when deciding where to use fixed versus expansion clips. Choosing the wrong clip type can create problems later, especially on longer roof runs.
Reliable Sealants and Joint Protection
For mechanically seamed 2-inch commercial-grade panels, Mullen notes that non-skinning butyl sealant is the most common choice. This type of sealant is supplied in tubes or in tape form and is often used at panel seams, end laps, and flashing joints to keep water out. It stays flexible over time, bonds well to metal, and holds up under weather exposure.
Butyl tape is frequently used on side and end laps or around penetrations like vents and pipe flashings. A gun-grade bead of non-skinning butyl may also be applied inside seams before mechanical seaming for added protection.
Silicone sealants are sometimes used around flashing details since they stick well to metal and resist UV and moisture. However, they are generally not applied inside panel seams because they can interfere with proper seam folding.
Hot-melt sealants are less common in field installation but may be factory-applied during the panel forming process when required by the manufacturer.
Minimum Pitch, Slope, and Drainage Mistakes

A standard minimum pitch for a standing seam roof is 1/4:12 which translates to a 2% slope. Some argue, however, that the best practice for standing seam roofs, especially residential, is slightly steeper of ½:12 or 3:12. There are different reasons for variances, such as a mechanically seamed standing seam, which can do well at low pitches, versus a snap-lock system, which requires a steeper minimum pitch. It is important to always consult the manufacturer’s guidelines and local building codes for the standing seam panels chosen.
A major drainage mistake made when creating a standing seam roof is creating an inadequate slope. Standing seam roofs are not meant for flat pitches because they rely on gravity for water flow. A slope that is too low can cause water accumulation which causes leaks and corrosion
and/or ice dam formation in colder climates. Inadequate flashing can also cause severe problems.
If flashing is not installed correctly or is damaged, water can seep through these vulnerable areas, causing leaks.
Final Seam Inspection: Mechanically Seamed vs. Snap-Lock
A final inspection on a mechanically seamed roof would include an inspection of the visual and functional aspects of the seams and roof components. The inspector would visually inspect the seams, checking for straightness and uniformity. They will check for complete closure, ensuring the panels are fully locked together. They will look for imperfections and defects along with inspecting for any signs of leaks. The inspector should check the flashing, sealants, fasteners, and gutters along with checking for ponding
or water collection.
A final inspection on a snap-lock standing seam roof starts with a visual seam inspection, including checking engagement, alignment, for gaps or openings, and for adequate overlap. Any issues in these areas can lead to leaks and damage.
Next, the flashing and sealant needs inspection. The flashing integrity around features, the sealant application, and sealant condition are checked. If applicable, the fasteners would be checked. Snap-lock systems typically use concealed fasteners but if any exposed fasteners are used, they would be inspected for proper installation. Otherwise, the roof would include checking that there are no exposed fasteners. Lastly, they would check the overall roof integrity, including the panel conditions, underlayment, and drainage. If needed, they may do a water test to check for leaks.
Conclusion
When configuring a mechanically seamed or a snap-lock roof, there are common — but important — mistakes to avoid. Multiple inspections of the substrate, panel alignment, tools, fastening patterns, clip configurations, sealants, and slope can change the outcome from quality standing seam roof that will last for decades to a costly, leaking roof that you’ll be called back to fix.
Courtney Glover is a freelance writer and photographer based in Milwaukee, Wisconsin. She contributes her talents to various publications and is the author of “Max Builds A Metal Roof,” the first book in the Shield Wall Media children’s book series.