Every installer has experienced the frustration of a lack of cooperation from the elements, and wind is a common impediment. You may be tempted to ignore it and keep going since you are almost done with a job, but as one professional said, “Just don’t do it!”
Of course, there must be a cut-off point at which you decide it is no longer safe to continue. However, it appears that there is not just one agreed-upon wind speed that makes the job too dangerous to continue. Some professionals say 15mph, and some say 25mph should be the wind speed at which you should discontinue work if you want to be safe.
Wind Speed and Direction
Is 15mph the cutoff then? OSHA does not specify particular wind speeds across all situations at which work should cease. However, it does require that employers assess weather conditions and ensure worker safety.
In the absence of specific regulations regarding wind speed safety in different situations, the industry including many contractors, safety officers and manufacturers have interpreted the guidelines in this way (see chart top right):
Bob Zabcik, consultant to the Metal Construction Association (MCA), said that many roofing manufacturers make these wind-related decisions easy by publishing metal installation instructions with detailed documentation including the safety parameters. These are backed up by testing, done either in conjunction with the MCA or by third parties.
“If it is windy, that doesn’t necessarily mean you can’t work,” Todd Meinhold of Ridgeline Safety Systems said, “you have to consider other parameters. If the wind is 15mph out of the north, work on the south side of the roof. The location and situation affect it too. Are you working up among the trees on the highest point in the county? Or are you working on a low roof that is blocked from the wind?”
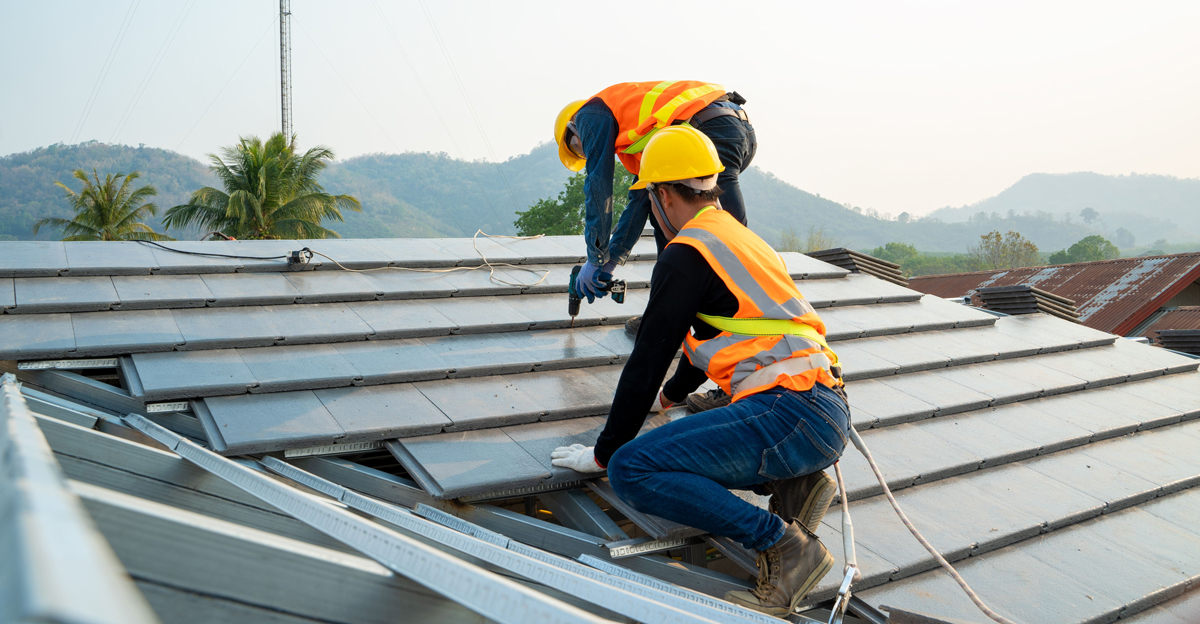
Roofing Materials
Often the danger starts before the panels are installed, when the underlayment is applied. It can act like a sail. There are documented cases of underlayment and tarps ballooning and pulling roofers off the roof, often fatally when the roofer was not tied off. If gusts are over 15-20mph it is best to stop installing that underlayment or tarp.
Another consideration is the roofing material itself. Are you placing long panels or short ones? Long ones will catch the wind and try to fly out of your hands, and a light gauge can make that worse. Shorter panels or shingles are much easier to control.
If you are dealing with long panels, you may need more people to carry them. For instance if two people usually carry a 12’ panel, now three or more people are needed to lift and carry them to prevent kiting. The lower you can keep the panels to the ground, the better.
You might plan on securing the panels at the most vulnerable spot first, such as the ridge, if possible. Otherwise the roofing pattern and process should be the same as always, working in accordance with the manufacturer’s instructions.
Tarek Droubi of IMETCO recommends staging as much as possible on the ground level to limit wind exposure on the roof. If pre-drilling is necessary, get everything pre-drilled and ready to go, securing all the materials. Don’t leave open packages about, at least place something heavy atop an opened package of roofing materials if it’s not in a sheltered location.
Roofing Equipment
The use of cranes, hoists or lifts should be halted in winds over 20mph, according to industry standards, unless the manufacturer has tested for a higher wind speed and proper safety precautions are in place.
Scaffold work is prohibited during high winds unless a competent and experienced person determines it is safe.
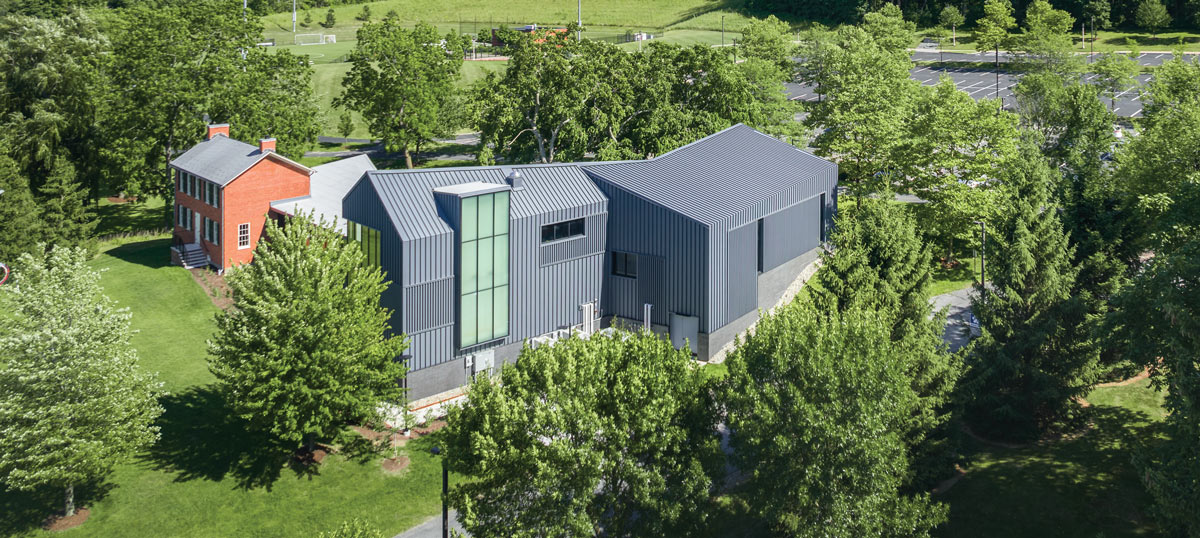
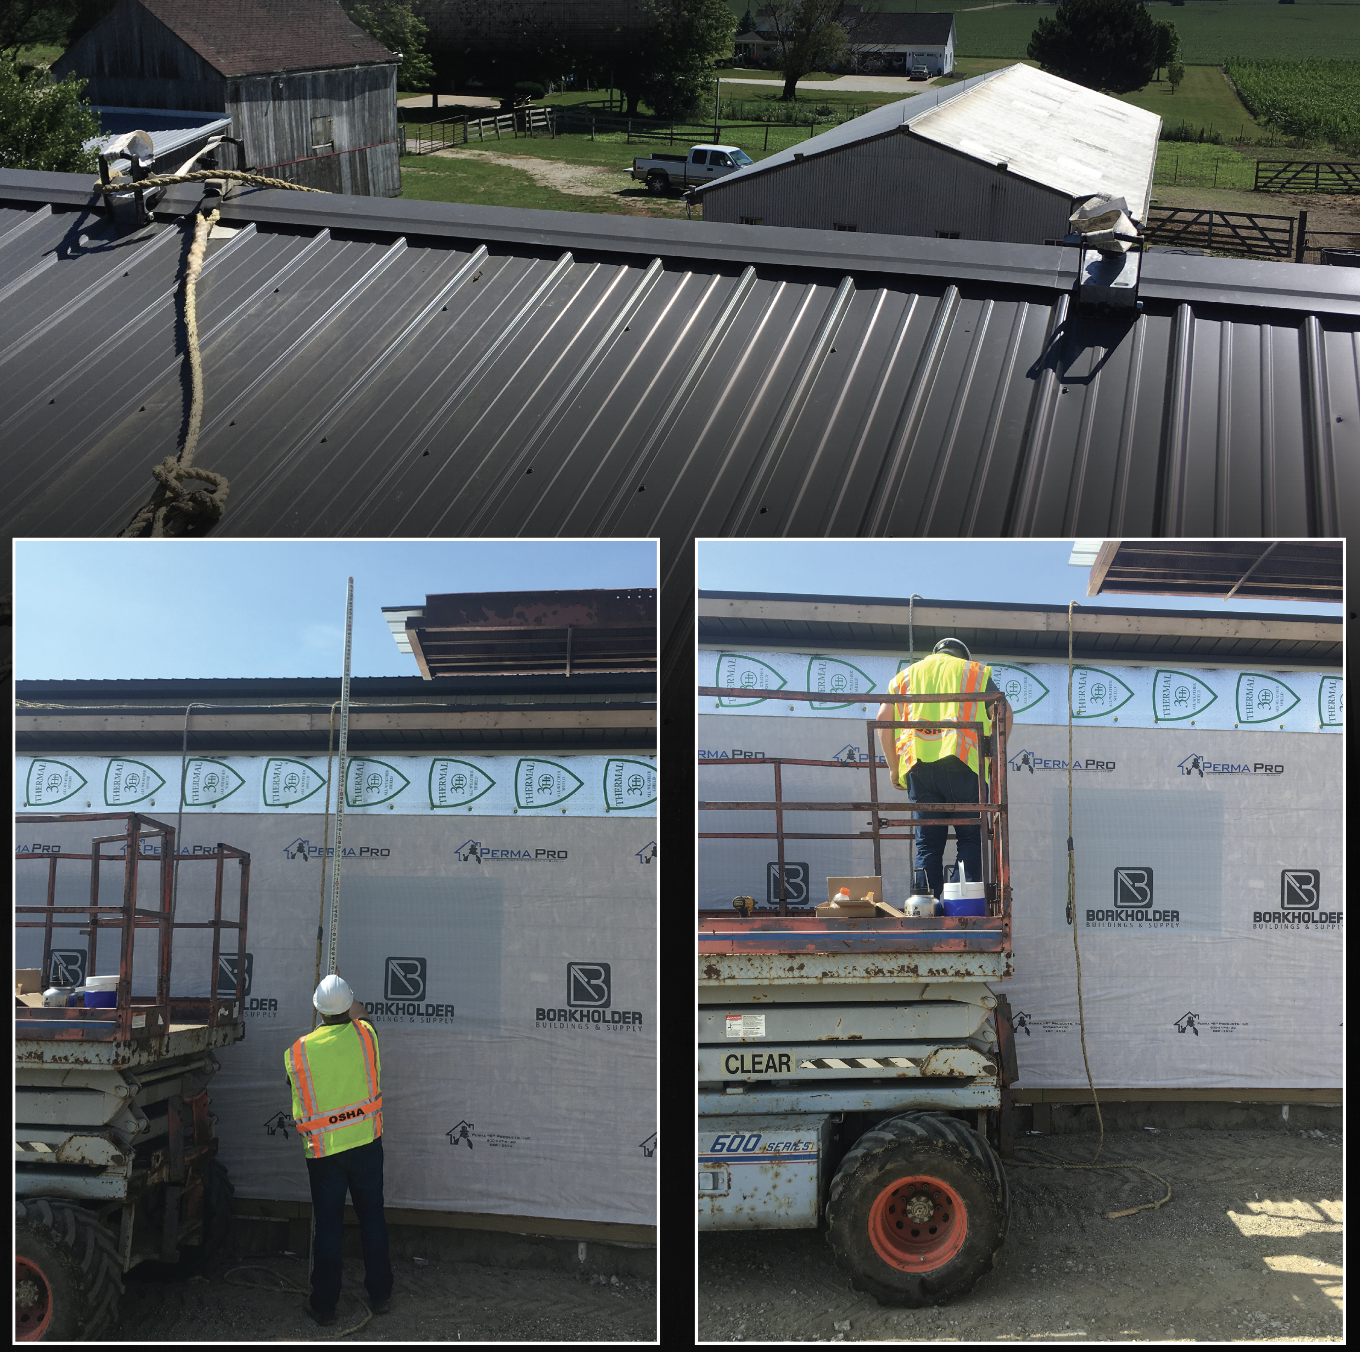
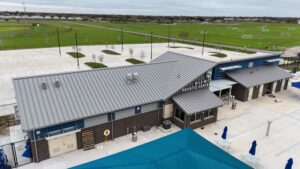
The trees surrounding these buildings can serve as wind breaks allowing roof work to continue. Photo courtesy of IMETCO.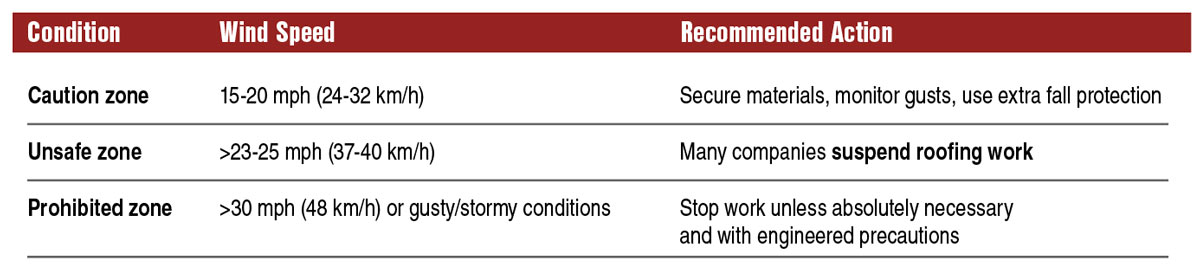
Personal Protective Equipment
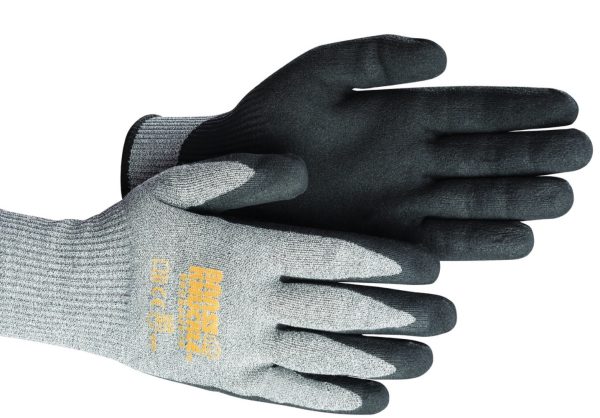
Noah Oberholtzer of Hixwood said that you need to wear gloves especially in windy conditions because the edges of the metal can be as sharp as knives.
“Never try to grab a falling sheet or one that got away from you. It’s like trying to grab a sharp knife. It could potentially rip a glove open,” he said.
Naturally fall equipment is even more necessary in the wind; if it’s strong enough, it can blow a person over – onto the roof or off. Make sure the fall system is intact and secure.
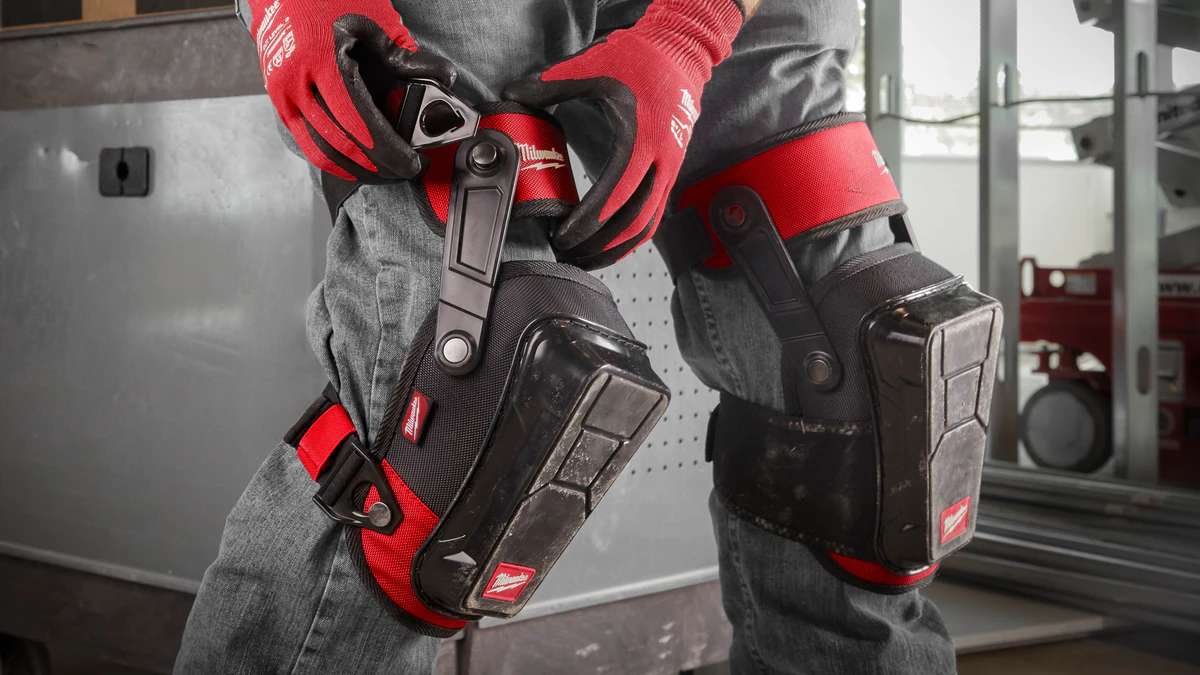
Droubi adds helmets with chin straps and safety vests to protect from flying metal and steel toed boots to protect from fasteners to the list of PPE that can make roofers safer.
Red Flags
• Roof panels are trying to pull out of your hands in the wind.
• Someone on the roof is not tied off.
• Loose roofing materials or partially wrapped materials are sitting around.
• Someone is dragging a cord on a power tool around on the roof.
• There are no experienced, certified roofers on the crew.
General certification is available through the MCA. Certification on the specific product is available through manufacturers.
Develop a Plan
Scott Ropp of ProVia said that before you get to the job site, you should check the weather report for rain and wind, then based on that information you can put a plan together.
Anticipate that windy conditions can pop up at any time and have an experienced roofer on the crew who can make the decision to halt the job if it becomes unsafe.
Meinhold said, “I’m not always there; I need to have someone with a minimum of three years experience who can call it. I trust that person has the interest of their fellow workers at heart.”
If you have a couple of different jobs running, determine conditions for all. Then decide where and when the crew/crews should work. The local weather needs to be monitored all day because the weather report may say the winds aren’t due until 4:00, but they can show up at 2:00.
“Don’t bother to subscribe to a meteorological service,” Meinhold said. “The weather is too unpredictable and they are as likely to be correct as the free services.”
Talk about the likelihood of wind and the plan to deal with it. Will you be moving from one job to another? If there is some wind but it is deemed safe to proceed, remind the crew to go slowly and be mindful. The rush to get the job done can make an accident more likely.
Consider what precautions may be needed, for example, a platform with straps that are reattached after each panel is removed can help keep roofing materials from blowing away. Advise roofers to position themselves and materials perpendicular to the wind if possible making themselves less of a target. Decide if you need to add another person to the crew to help carry panels. Ask yourself if you should start on a particular plane of the roof to keep out of the wind.
Always prioritize worker safety above finishing the job. Panels can be replaced and sections can be redone. Worker injuries can have much more serious repercussions.
Roofing Safety Briefing
Call a safety briefing meeting to provide guidelines for roofing crews working in windy conditions, following OSHA standards and best industry practices. A daily briefing tool follows for use when wind speeds are expected to be above normal or gusty.
Safety Checklist for Windy Conditions
• Check real-time wind speed on-site (not just forecasts).
• Suspend roofing work if sustained wind exceeds 23–25 mph or gusts are strong and unpredictable.
• Secure all loose materials and tools before beginning work.
• Use proper fall protection rated for windy conditions: harness, lanyards,
anchors.
• Avoid crane, hoist, or lift use if wind exceeds manufacturer’s safe limits.
• Postpone installation of large panels or membranes that can act as sails in
wind.
• Review emergency procedures with the team before starting work.
• Conduct a pre-shift safety briefing specific to wind hazards.
• Do not use wind screens on scaffolds unless properly engineered for wind
loads.
• Ensure crew members wear eye protection, gloves, and secured hard hats.
How to Safely Get a Tarp Down – In Lightly Windy Conditions
1. Fold the tarp before carrying it up the ladder.
– Fold it neatly into a small, manageable bundle.
– Tape or tie the folds to keep it compact.
– Avoid climbing with an unrolled or flapping tarp.
2. Secure the top edge first.
– Start at the peak or highest point of the roof.
– Use sandbags, weighted buckets, 2x4s,
or roofing nails/screws with plastic caps.
– If possible, screw a 2×4 over the edge of the tarp to anchor it.
3. Unroll gradually, working down
– Slowly unfold the tarp from the top down, keeping it low and controlled.
– One person unrolls while the other secures sections immediately.
4. Weigh it down as you go
– Keep sandbags or weights ready to set on corners.
– Avoid leaving any part of the tarp unsecured.
5. Tuck or tie off edges
– Use rope, bungee straps, or zip ties to secure grommets to fixed points.
– Avoid having loose flapping edges,
which can lift the tarp or act like a sail.
– Don’t overreach.
– If you can’t reach an area safely, don’t try to
stretch or crawl – move and reposition. MR