Metal roofing is the fastest-growing segment in the roofing industry. If you’re not incorporating a mechanically seamed standing-seam roof system into your offerings, you’re missing out on a significant opportunity. However, proper seaming techniques are critical for ensuring the long-term durability and weather resistance of commercial metal roofs.
Understanding Mechanical Seaming
Mechanical seaming involves using specialized machines and hand tools to join the standing seam ribs of metal panels, creating a weathertight, secure connection. Unlike snap-lock systems that simply snap together, mechanical seaming bends and locks the panel seams, delivering superior structural integrity and resistance to environmental forces. Every roof system comes with its own specifications, and failing to follow them can void warranties and compromise performance. Panel manufacturers invest substantial time and money developing and testing panels to ensure they meet uplift and engineering requirements—key factors in supporting a warranty. For a roof to achieve its specified wind-load rating and weather resistance, every panel must be properly seamed; any skipped or poorly formed seam leaves the system vulnerable to wind uplift or moisture intrusion.
Commercial Roof Seaming
Commercial and industrial roofs offer greater reward but also carry greater risk. Because there’s far more square footage, profits can be larger—but so can potential losses if seaming is mishandled. Always use the proper seamer and understand the panel manufacturer’s process (many of which offer training). Don’t cut corners on your seaming equipment; on a typical commercial roof job—often totaling $100,000 or more—poor seaming can cost far more than the seaming machine in the long run.
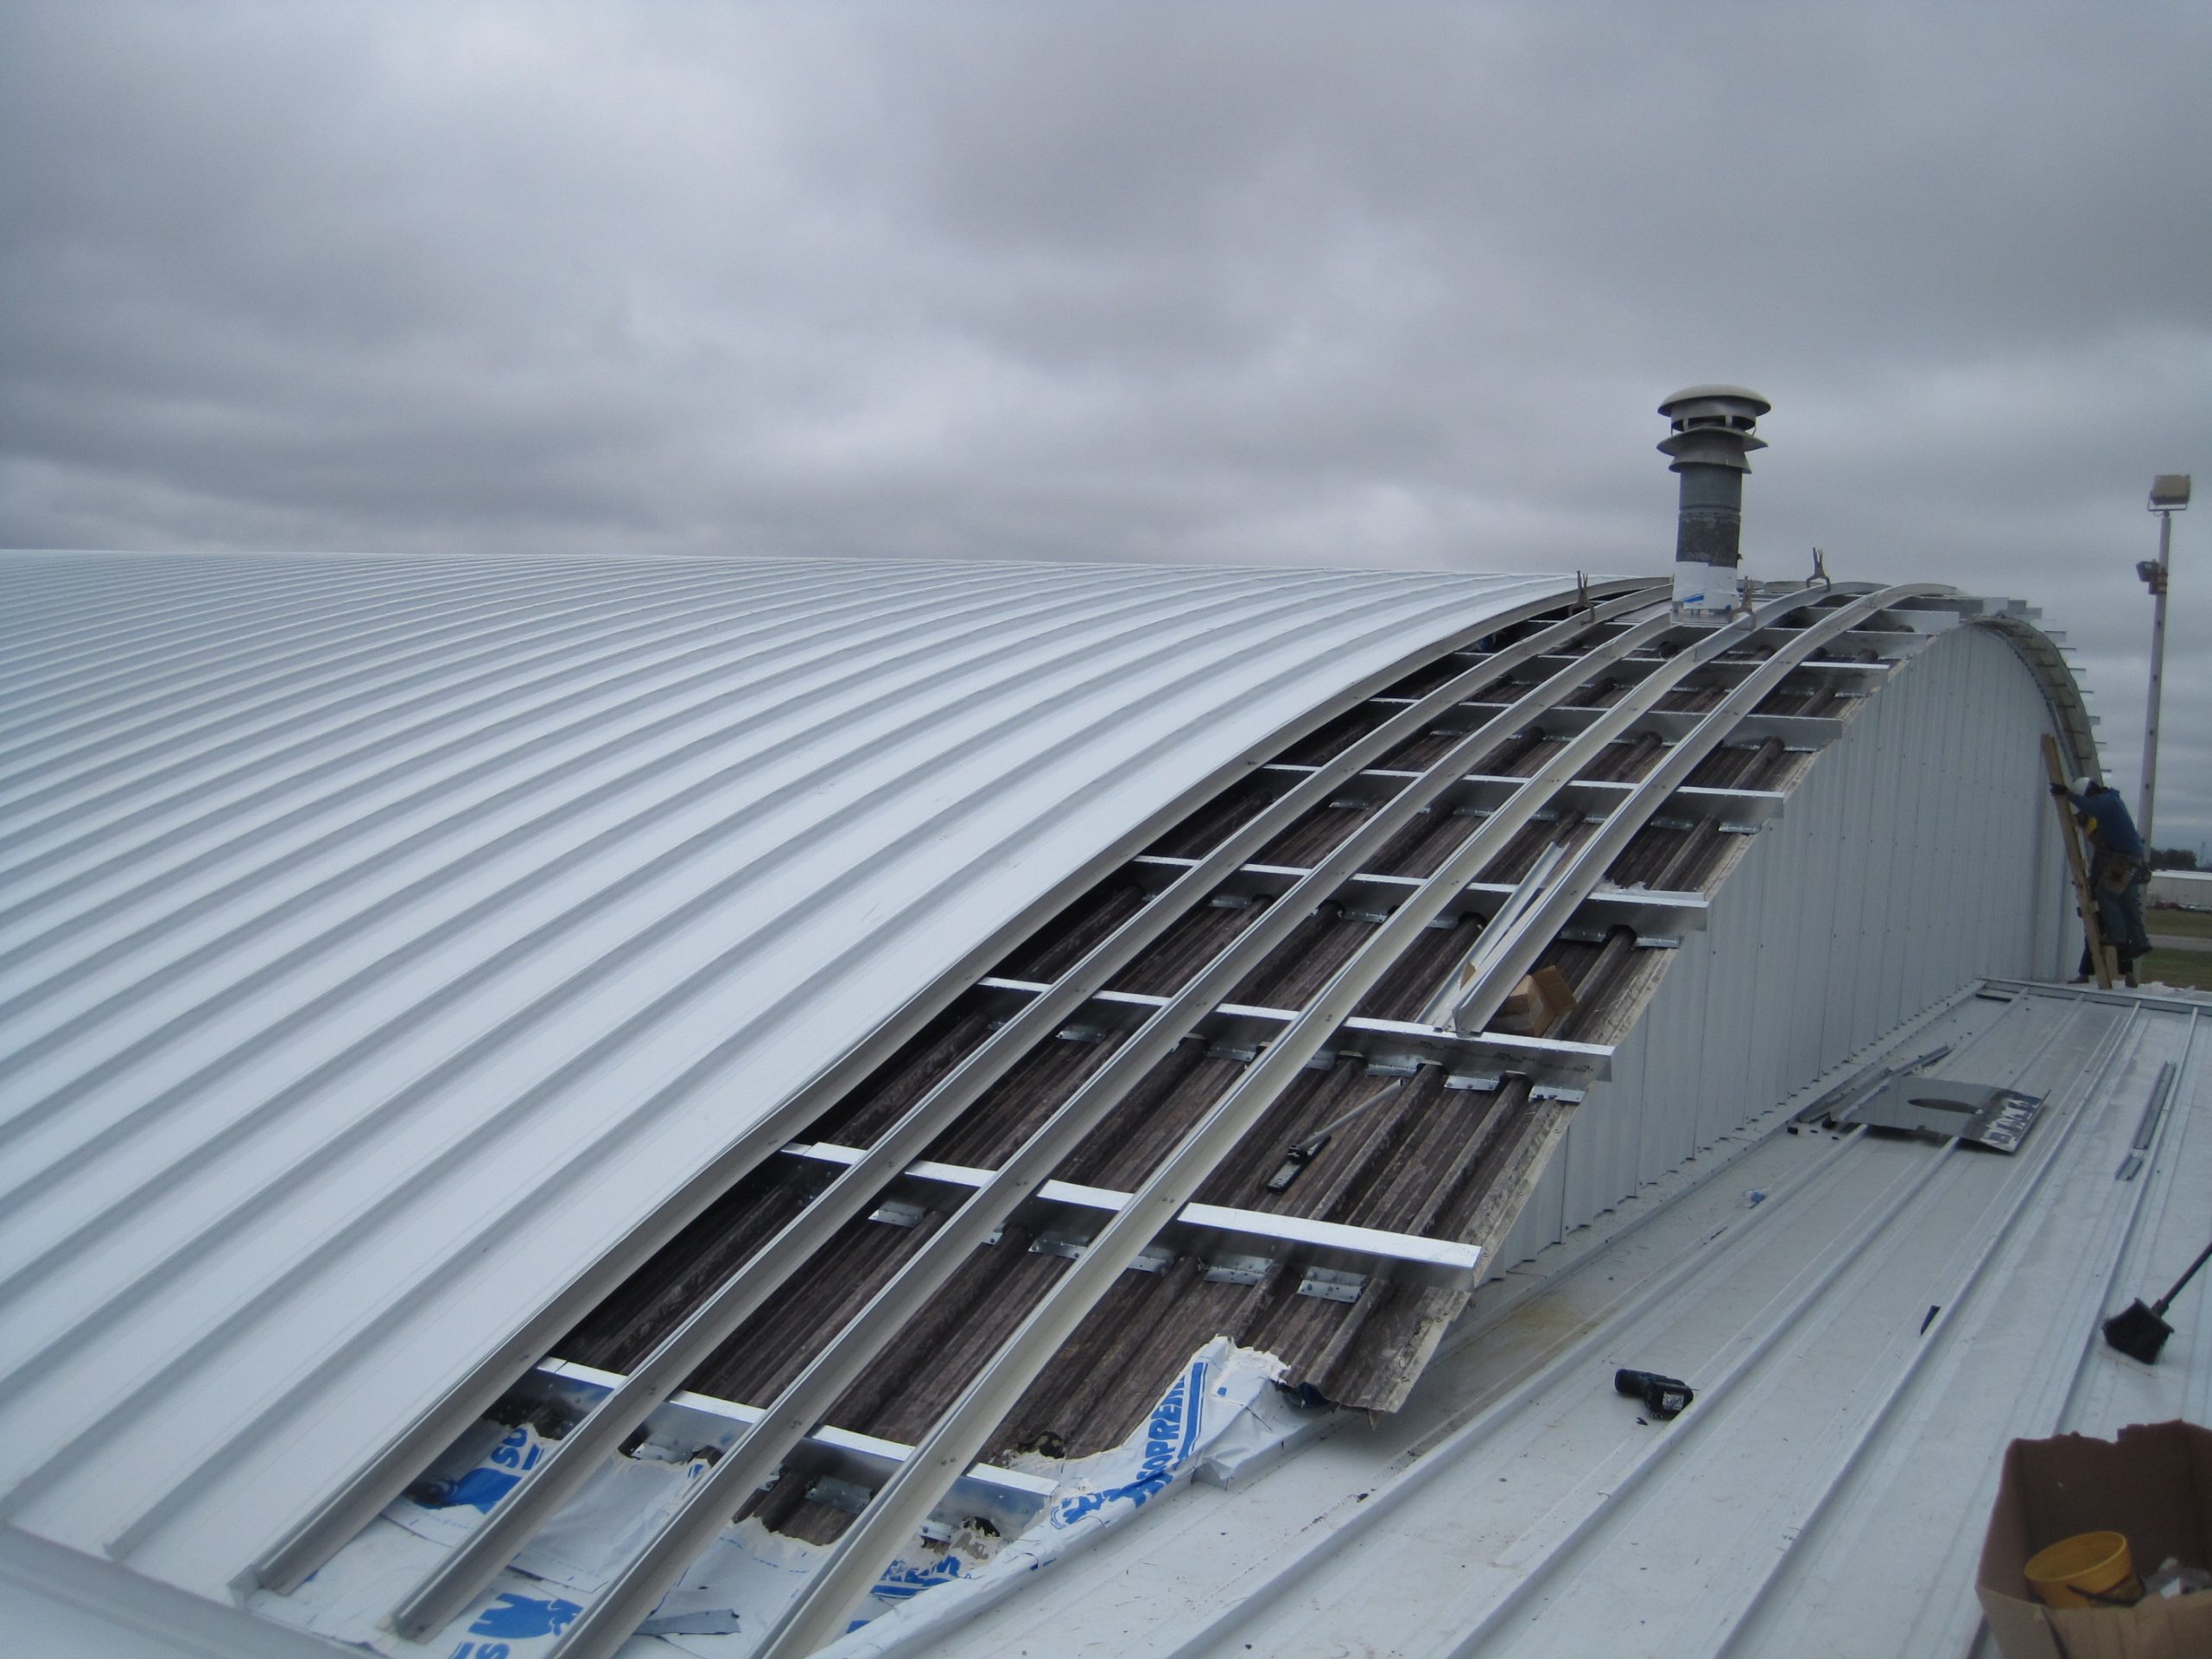
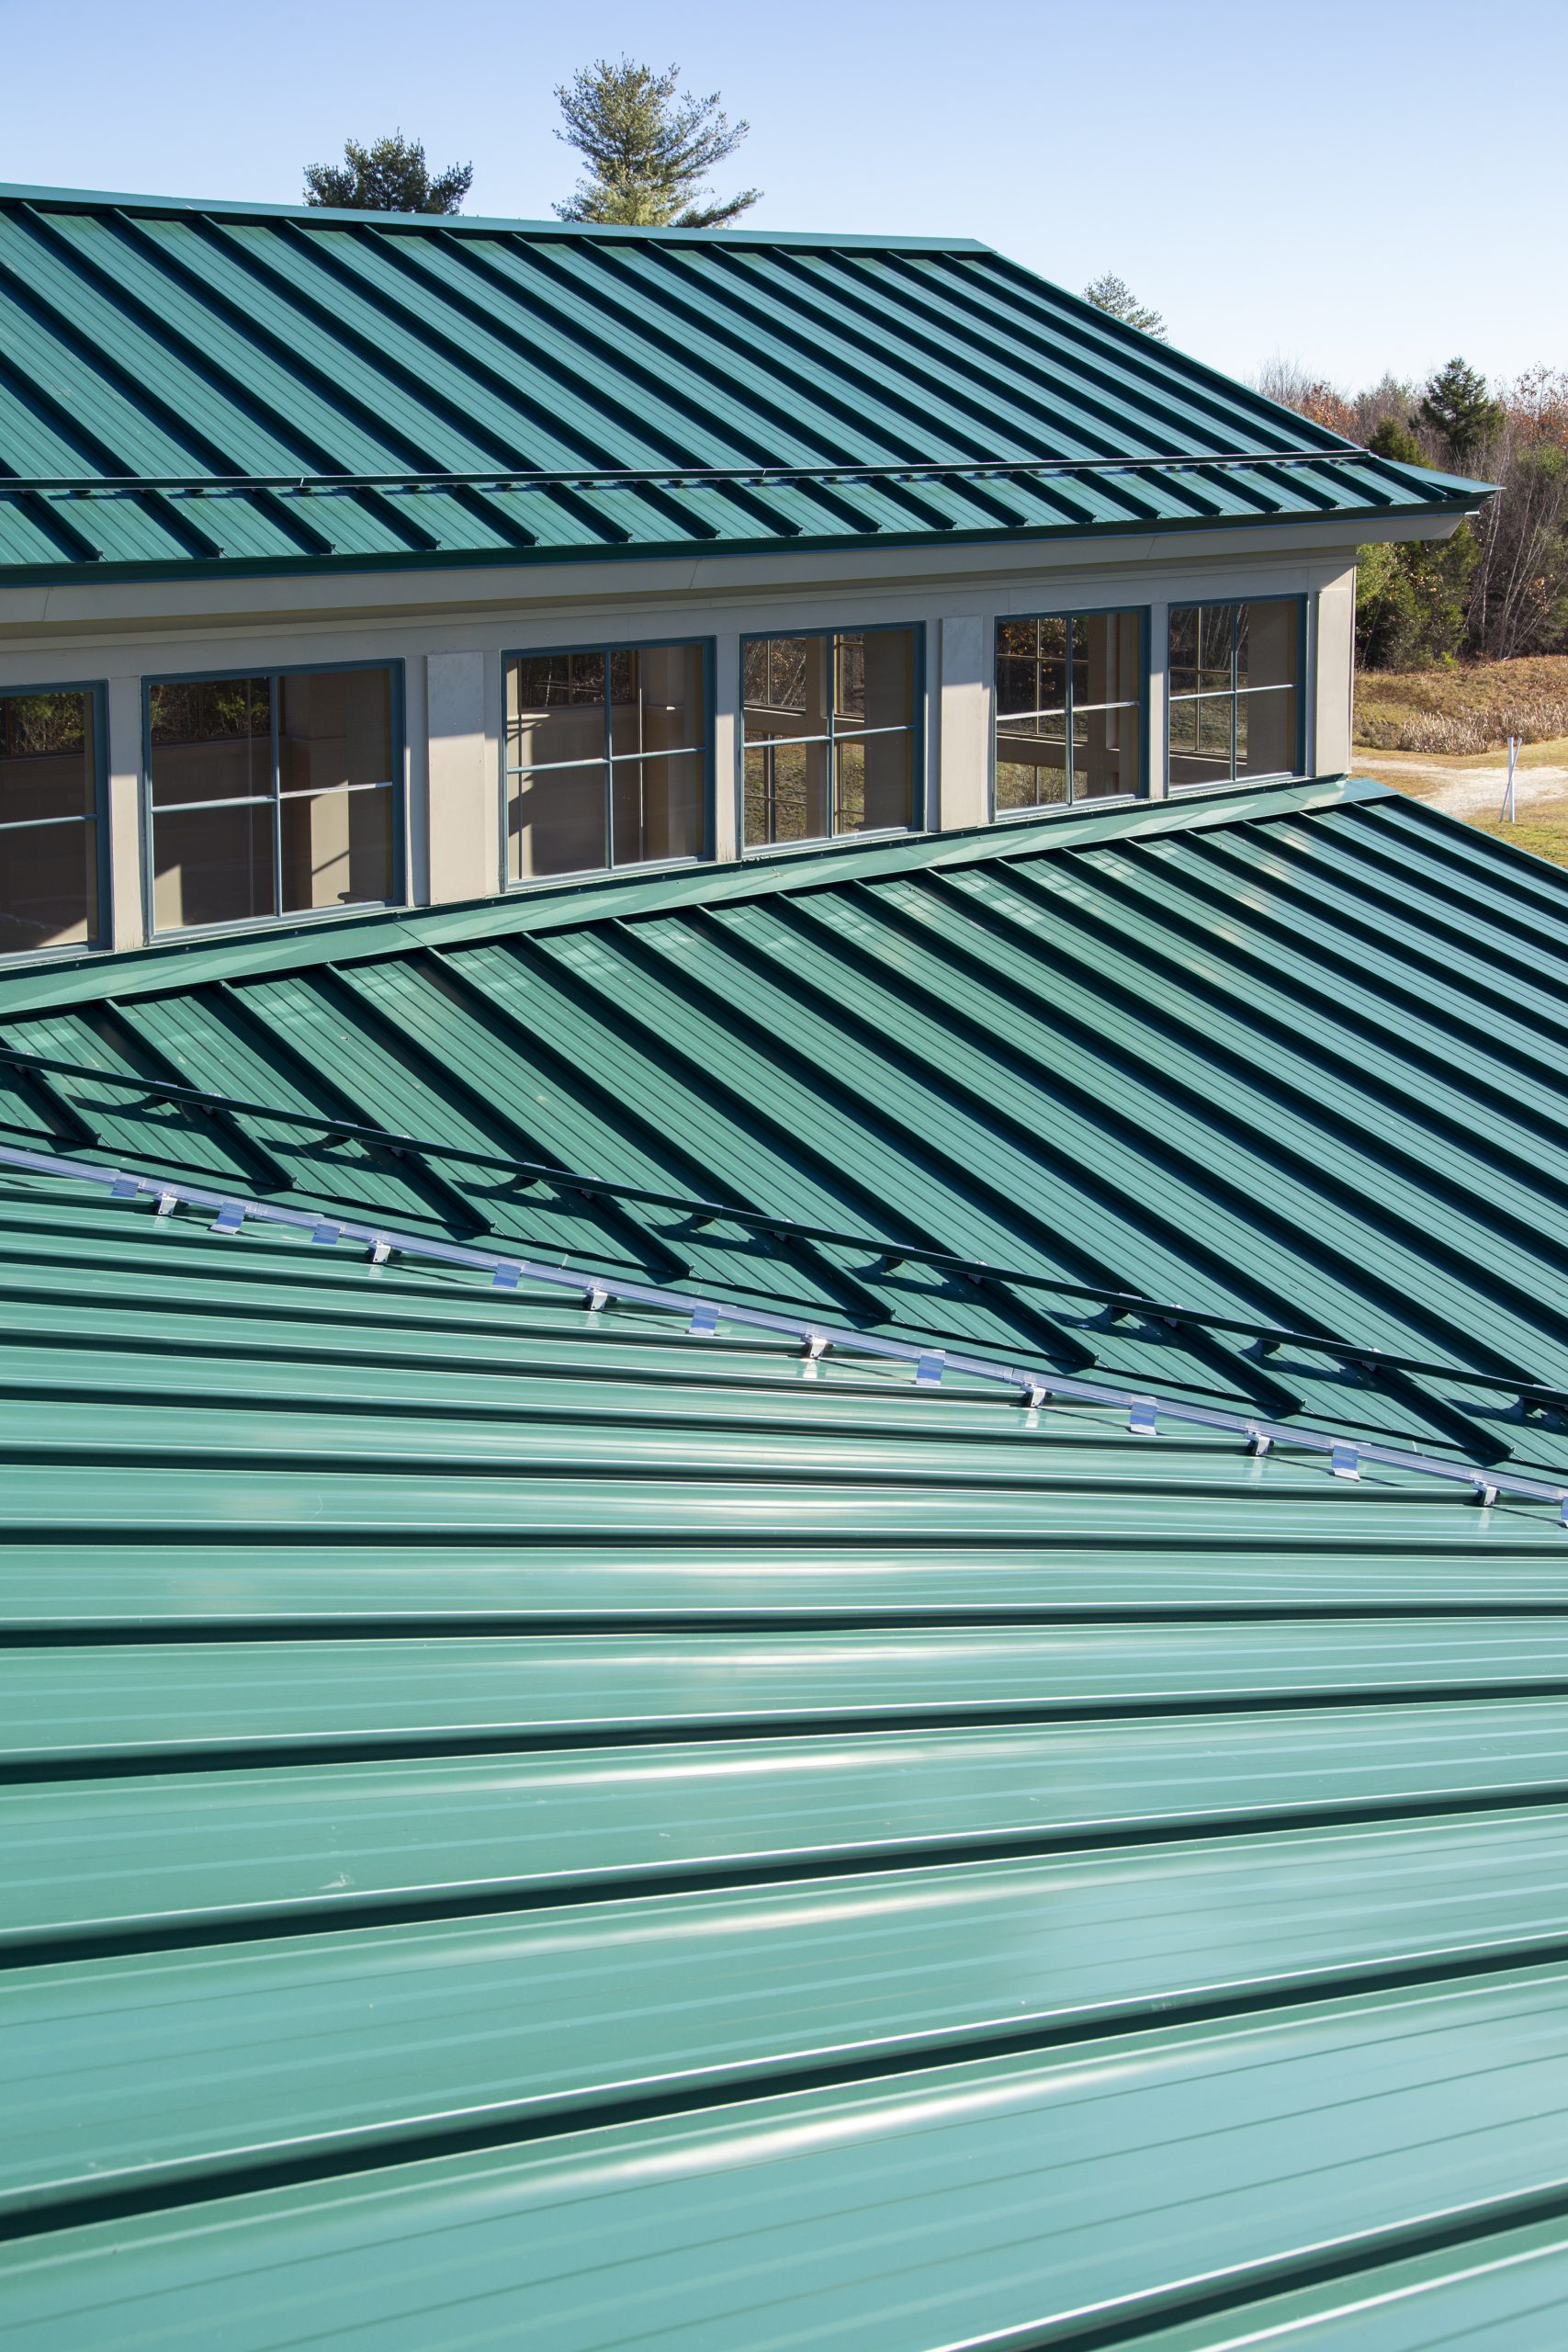
Commercial metal roof systems differ significantly from residential standing-seam designs. Materials vary from the heavier roof clips used to fasten panels to the deck, to panel dimensions and gauge. Residential systems typically use 26- to 24-gauge painted steel (or 0.040” painted aluminum), whereas commercial systems start at 24-gauge steel or 0.040” aluminum and more commonly employ 22-gauge steel or 0.032” aluminum. Commercial and industrial panels often feature a 2” rib or a 3” trapezoidal rib; lower slopes and greater snow loads in some regions necessitate taller mechanically seamed ribs.
To achieve precision seaming on metal roofs, every profile requires its own custom setup. The systems differ so significantly that it’s important to understand that the equipment used to seam each system is different. If you’re working with 22-gauge material, you need an industrial-strength seamer. Always consult your OEM or supplier, run test seams for fit and finish, and verify that you have the right equipment before you tackle any real roof. Confirm that panels meet the manufacturer’s dimensional specifications. Seamers are precision tools; using the exact seamer engineered for your panel system is the only way to guarantee a watertight, long-lasting roof.
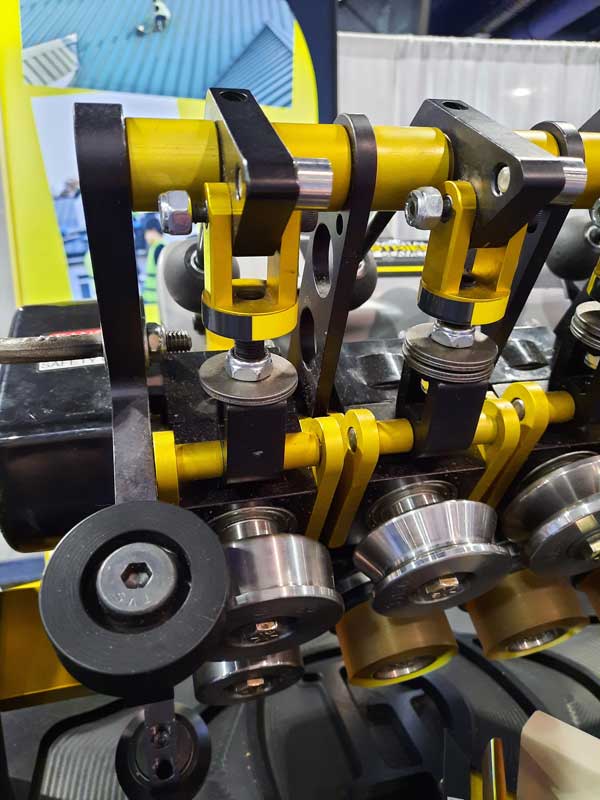
An up-close look at a machine from DI Roof Seamers. Shield Wall Media photo.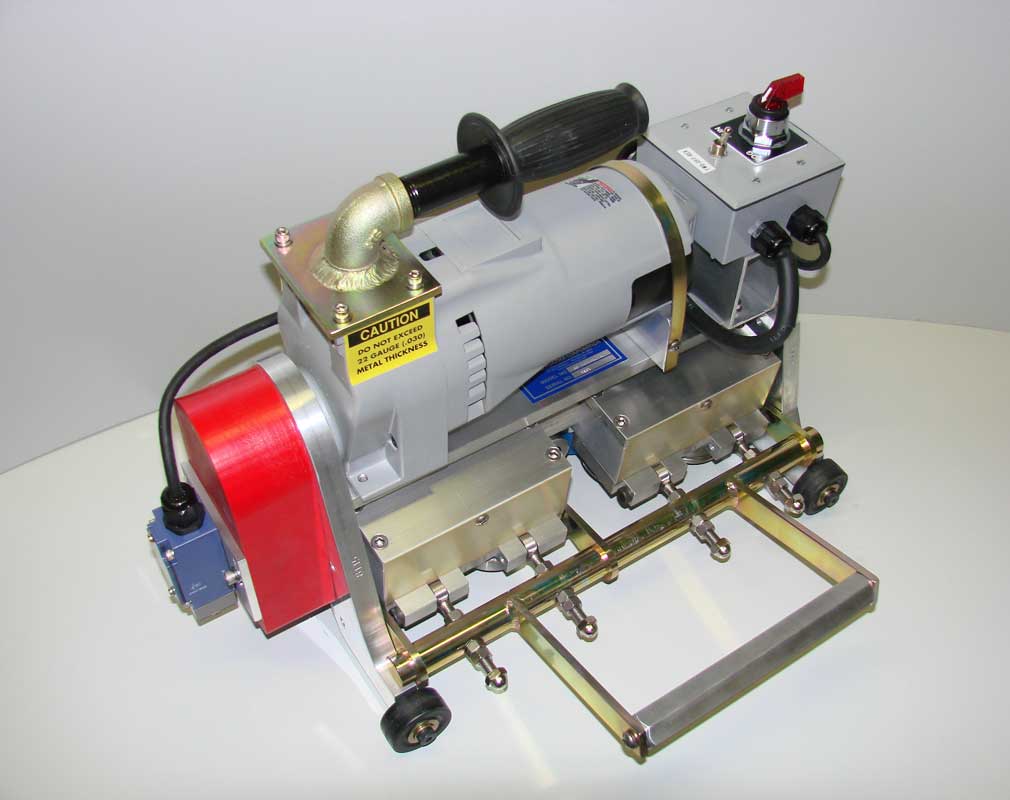
Roll Former LLC’s SS Industrial Seamer is designed to “Single Lock” and “Double Lock” a 2”″high “Armco Style” mechanical lock standing seam panel in 22-24 gauge steel and .040” aluminum. Photo courtesy of Roll former LLC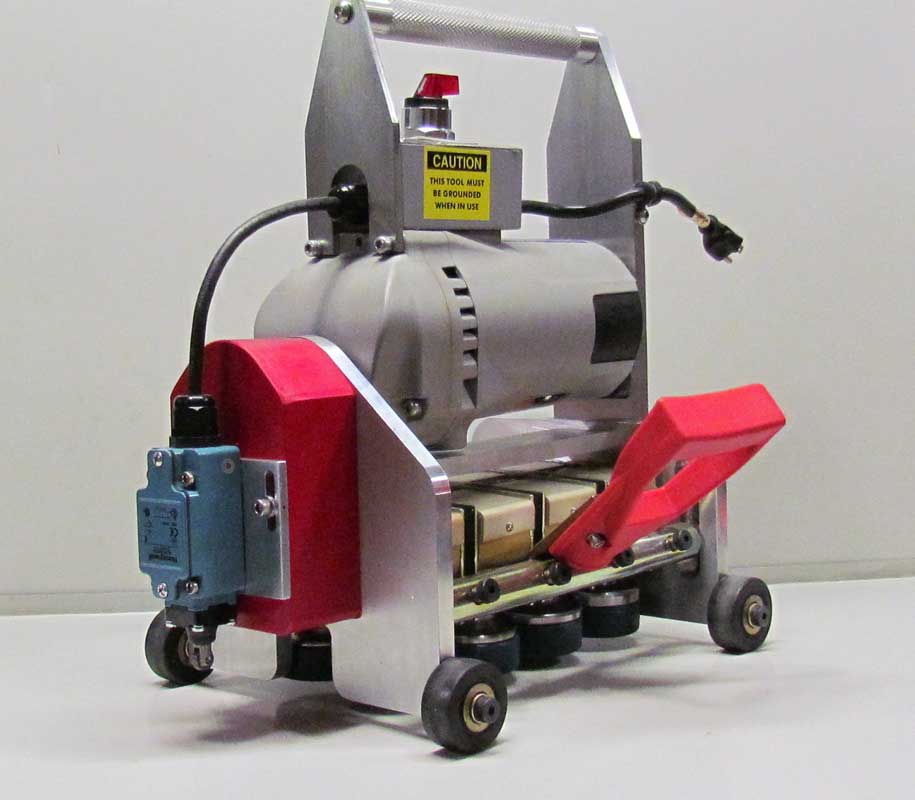
Another power seamer from Roll Former LLC. The switch at the front of the machine deactivates it once it loses contact with the seam so it won’t run off the edge of the roof. Photo courtesy of Roll Former LLC
Signs of Trouble
Watch for clues that something’s off during installation—improperly formed seams are the root cause of leaks, wind uplift failures, and voided warranties. If the seamer drifts off-track or crimps panels out of alignment, check the panel specs. Equally important is the fit between the male and female legs: any gap between them spells trouble for a clean seam. The moment you spot a buckle or uneven roll in the seam, stop work, diagnose the problem, and replace the defective panel; it’s far easier to swap out one bad panel than to replace many—or an entire roof.
Best Practices
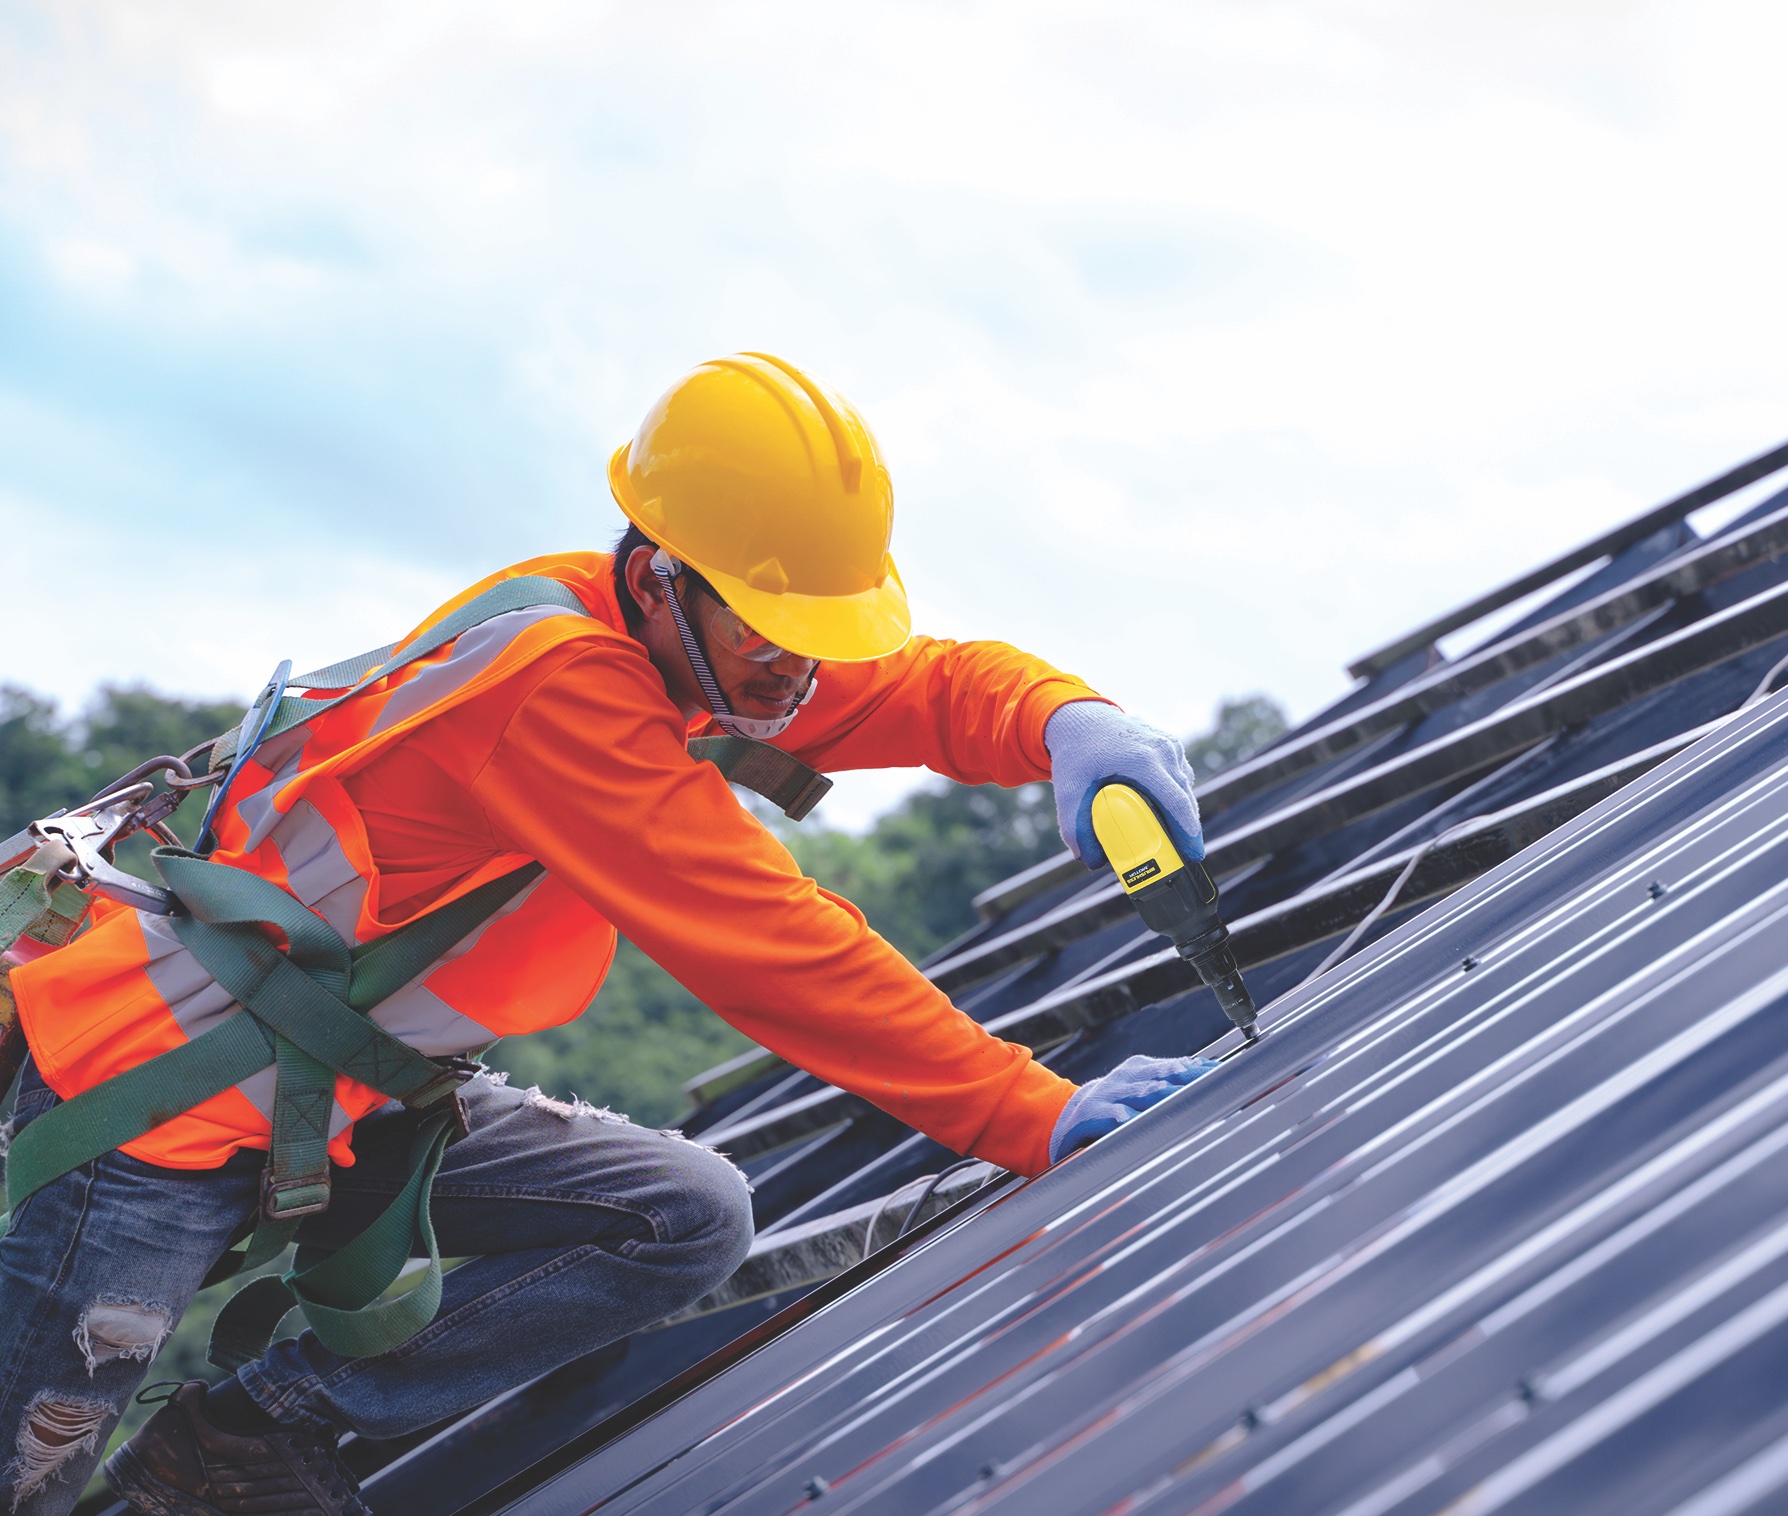
Keeping operations smooth and safe on the rooftop starts with preparation. Always be aware of where you and your machine stand in relation to the panel ends and the roof edge, and never compromise on safe practices while seaming. Before you set foot on the roof, practice both hand-seaming and powered runs on test strips in your shop or on the ground—that practice will pay off in speed and accuracy once you’re up on the roof.
The electrical feed to the seaming machine must deliver the full 20 amps at 120 volts at the machine. If you’re drawing power for other tools on the same circuit, the service and cord capacity must be increased to match the combined demand. Voltage drops over long or undersized cords will cause motor overheating and burnout. The Metal Construction Association recommends the following extension-cord sizes:
Distance (ft) 0–50 50–100 100–200 200+
Wire Gauge 12 10 8 6
Make sure to hand-crimp panels correctly to load and start the seamer. Hand crimping locks panels in place after layout and before seaming, and it creates the perfect starting “bite” for your seamer. If the machine doesn’t lock onto the seam easily, something is amiss—never force it. As you install, crimp panels tightly at laps: those end laps carry twice the material and require extra attention. When you encounter thicker sections near clips, a quick, tight hand-crimp keeps the seamer gliding effortlessly.
Most people think the jump from installing snap-lock or through-fastened roofs to mechanically seamed systems isn’t that big of a deal. But seaming correctly is critical, so putting this vital process in the hands of someone who is inexperienced is far from a best practice. When you bring on a new operator, pair them with a seasoned pro or have them work directly under an experienced supervisor until they’ve built enough skill and confidence to go it alone.
Conclusion
Mechanically seamed roof systems deliver exceptional strength, weather resistance, and longevity—provided today’s best practices are followed. By investing in the right equipment, training, and attention to detail, you safeguard warranties and ensure every roof you seal stands up to the elements for years to come.
Best Practices At A Glance
1. Safety First
Pay close attention to where you and the seamer are in relation to the end of the roof panel. Safety should always be at the forefront of any roofers mind while seaming standing seam panels.
2. Practice
Create test panels and practice both hand and power seaming in your shop. Mastering the technique beforehand saves time and prevents costly mistakes on the job site.
3. Ensure Adequate Power Supply
Use a 10-gauge extension cord no longer than 100 feet to prevent power loss. If using a generator, ensure it produces at least 2500 watts and has a 20-amp plug. Inconsistent power can damage the seamer’s motor and brushes.
4. Panel Placement
Install panels in modulation and crimp tightly at laps. End laps contain double the material and need extra attention to prevent seaming issues.
5. Proper Crimping
Hand-crimp thicker seam locations near clip positions to help the seamer glide smoothly over these areas.
6. Loading the Seamer
When aligning the seamer, ensure the locking handle pushes down easily. If it doesn’t, identify and fix the issue before proceeding. Forcing the handle can distort panels and damage the machine.
7. Maintain Cleanliness
Keep panels free of dirt during seaming to avoid damaging the tooling. Walk on adjacent panels rather than those being seamed to minimize disruptions.
Resources
DI Roof Seamers • www.diroofseamers.com
Malco Tools, Inc. • www.malcotools.com
Roll Former LLC • www.rollformerllc.com
Metal Construction Association Roof Seaming
Best Practices Guide • https://bit.ly/3RWbIwb